If you want to create the kind of characters you see in animated films, learning to sculpt in ZBrush is a great place to start. It is an industry standard tool for building detailed characters, creatures, and environments.
This beginner friendly guide walks through a simple ZBrush workflow, common mistakes to avoid, and how sculpting fits into the 3D animation pipeline. You will also see how VCAD 3D Modeling Animation Art and Design Diploma can help turn your practice into a portfolio and a career.
What Is ZBrush?
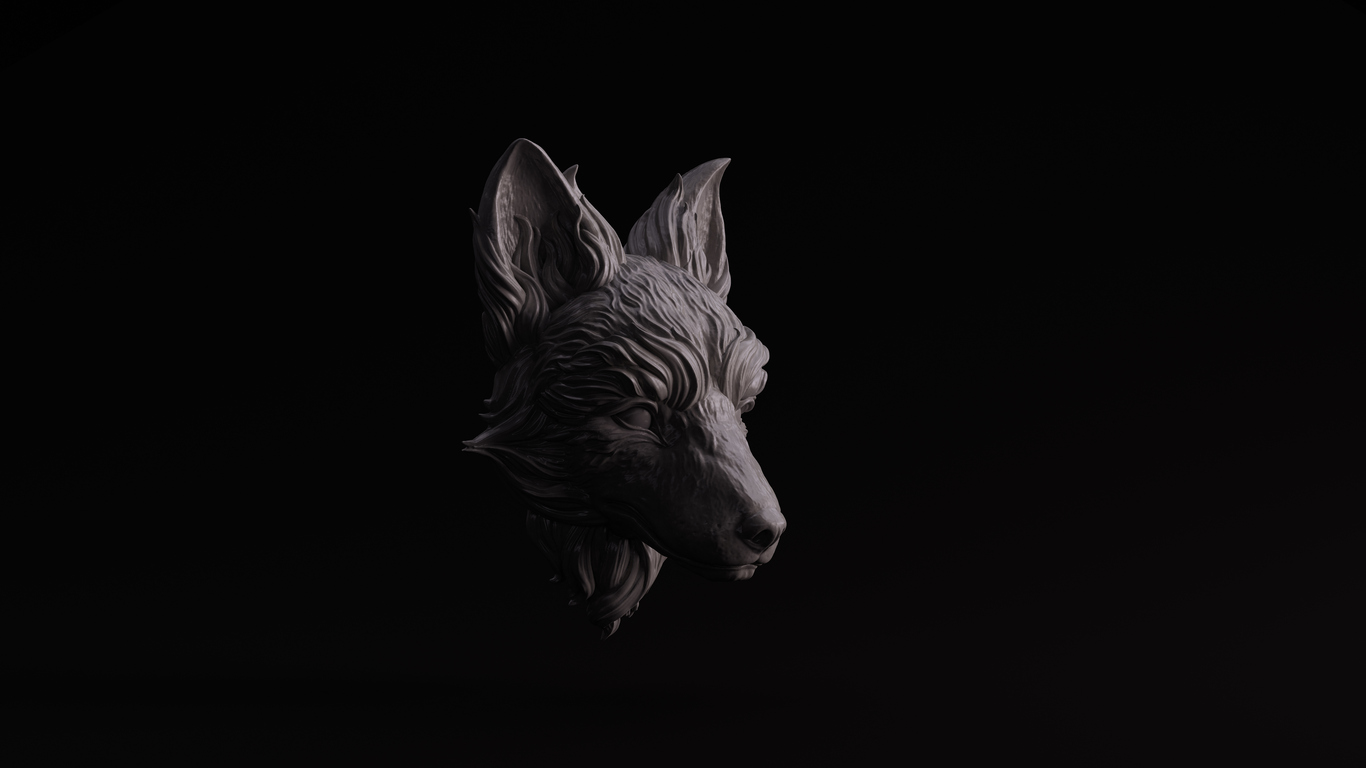
ZBrush works like digital clay. Instead of moving individual points on a wireframe, you push and pull a virtual surface with brushes. You can pull out a nose, carve wrinkles, smooth cheeks and build muscles in a very natural way, with symmetry, layers and millions of polygons available. That is why studios around the world rely on it for high resolution character and environment work.
For aspiring animators, ZBrush is often where a character first feels alive. Artists sculpt at high resolution in ZBrush, then create lighter, animation ready models from those sculpts.
Getting Ready for Your First Sculpt
You do not need a full studio to begin. You will want:
- A computer that meets current ZBrush specs
- A graphics tablet for pressure sensitive strokes
- A simple character or creature idea
- A few reference images
In VCAD’s 3D Modeling Animation Art and Design Diploma, students use tools like ZBrush, Maya, Substance Painter, Unreal Engine and Adobe Photoshop inside a guided curriculum that builds from basics to portfolio ready work.
Even if you are self learning, treat your practice like a class project. Set a clear goal such as “sculpt a stylised head from a sphere” and stick with it until the end.
Step by Step: How to Sculpt in ZBrush
Step 1: Block Out the Big Shapes
Open ZBrush and start from a sphere or a simple base head. Turn on symmetry with the X key so you sculpt both sides at once.
Use large brushes like Move and ClayBuildup to establish the main forms:
- Overall head and torso shape
- Basic proportions
- Placement of eyes, nose, mouth and neck
Stay at low resolution in this stage. A low poly mesh is easier to push into place and forces you to think about clean, simple shapes.
The most common beginner mistake is jumping into details before the silhouette and proportions are correct. If the skull is the wrong size, no amount of pores or wrinkles will save the design. Professionals really do spend time in this rough stage before refining.
Step 2: Refine Your Forms
Once the model looks right from all angles, begin refining. Increase resolution a little or use Dynamesh or ZRemesher to even out topology.
Focus on medium sized forms:
- The curve of the lips
- The angle of the nose
- Brow ridges and cheekbones
- Major folds in clothing or armour
Useful tools now include:
- Move with a medium brush size to tweak the silhouette
- ClayBuildup to build volumes like muscles and folds
- Smooth (Shift) to soften lumpy areas after each pass
Avoid zooming in too much. If you are sculpting an eyelid but the entire eye socket is off, zoom out and fix the larger structure first.
This step by step way of thinking, from broad to specific, is similar to how VCAD builds its curriculum: drawing, design and anatomy first, then deeper 3D work.
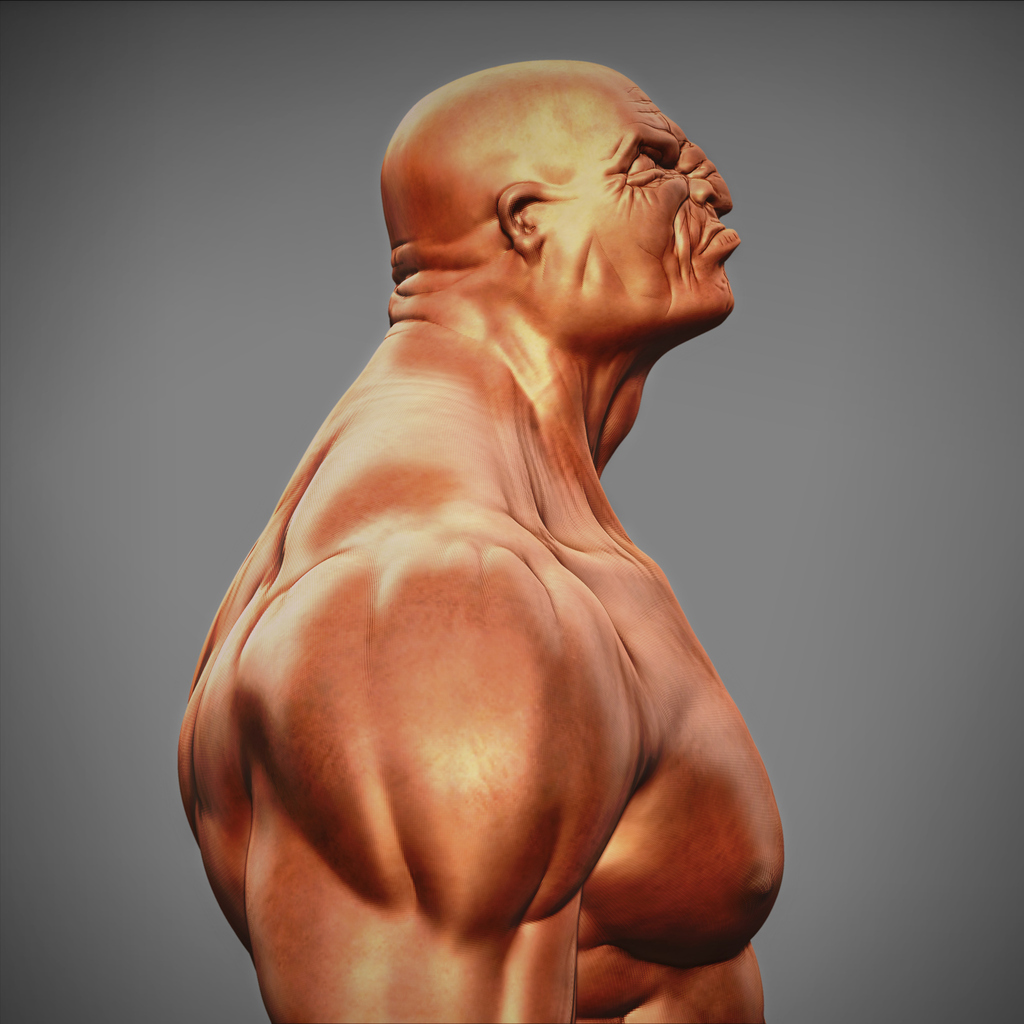
Step 3: Add Details with Intention
Only when your primary and secondary shapes feel solid should you move to fine detail.
Now you can:
- Subdivide the mesh further
- Use DamStandard to carve sharp creases and wrinkles
- Use Standard with a smaller brush for subtle forms
- Apply texture alphas for pores, scales or fabric weave
Think about detail hierarchy. The face and hands usually carry more detail, while areas like the back or large cloth panels can be simpler. Too much even detail can make a character look noisy and hard to read.
You can also Polypaint directly on the sculpt to block in basic colours and markings. This is perfect for concept art and early portfolio pieces, even before final textures.
Step 4: Pose and Present the Sculpt
With your character sculpted and lightly painted, you can pose them for a stronger final image. ZBrush’s Transpose Master combines visible subtools into a temporary mesh, lets you bend limbs and adjust the pose, then transfers that movement back to the full high resolution model.
A confident pose, simple lighting and a clean render can make even a beginner sculpt feel professional.
How a ZBrush Sculpt Becomes Animation Ready?
If you want to work in animation or games, it helps to know where ZBrush fits in the larger pipeline. The typical flow looks like this:
1. High poly sculpt in ZBrush
2. Retopology to build a clean, lower poly mesh with good edge flow
3. UV mapping to prepare the surface for textures
4. Baking details from the high poly sculpt into normal or displacement maps
5. Rigging and animation in software such as Maya or Unreal Engine
Retopology and baking allow you to keep the sculpted detail while still running in real time or rendering efficiently. Clean quads and good edge loops are essential if the model needs to bend and express.
In VCAD’s diploma, students move through this whole process: designing, modelling, sculpting, texturing, lighting and animating scenes, while learning how to prepare work for real production environments.
Common Beginner Mistakes in ZBrush
Here are a few pitfalls to watch for when you first learn how to sculpt in ZBrush.
1. Detailing too early
Adding pores and tiny wrinkles before the head shape and proportions are correct just wastes time. Always fix the big forms first, then move up through smaller details.
2. Using too much resolution
Jumping to millions of polygons too soon slows everything down and makes the sculpt hard to control. Stay at a medium density for as long as possible and only subdivide when you truly need more detail.
3. Skipping reference
Sculpting only from imagination often leads to off anatomy and odd proportions. Keep reference images on screen. In VCAD, drawing and design courses train your eye to observe real forms before stylising them.
4. Using too many brushes
You can do a full character with a small toolkit: Move, ClayBuildup, Standard, DamStandard and Smooth. Master these first instead of constantly switching brushes.
5. Forgetting the end goal
If the model is meant for animation, think about how it will bend. Very thin spikes or flimsy shapes may look cool in ZBrush but can cause problems later in rigging and deformation.
Final Thoughts
ZBrush can feel intimidating, but it gets much easier when you follow a simple rhythm: big shapes first, refine the forms, then add details. Every sculpt teaches you something new about anatomy, design and your tools.
You can keep learning on your own, or combine self study with VCAD’s 3D Modeling Animation Art and Design Diploma for structure, feedback and an industry focused portfolio. Either way, the real progress starts when you open ZBrush, grab a sphere and start sculpting.