If you're an aspiring 3D artist looking to create stunning visuals that bring your models to life, learning how to render an animation in Marmoset Toolbag is a must. Whether you want to showcase a character turnaround, a product design or a dynamic camera fly-through, Marmoset Toolbag offers an intuitive and powerful solution. And for those looking to take their skills even further, programs like the 3D Modeling Animation Art and Design Diploma at VCAD offer the right mix of hands-on training and industry tools like Toolbag to set you up for creative success.
Let's dive into the basics of how to render an animation in Marmoset Toolbag, with easy-to-follow steps that are perfect for beginners.
How to Render an Animation in Marmoset Toolbag?
Step 1: Set Up Your Scene
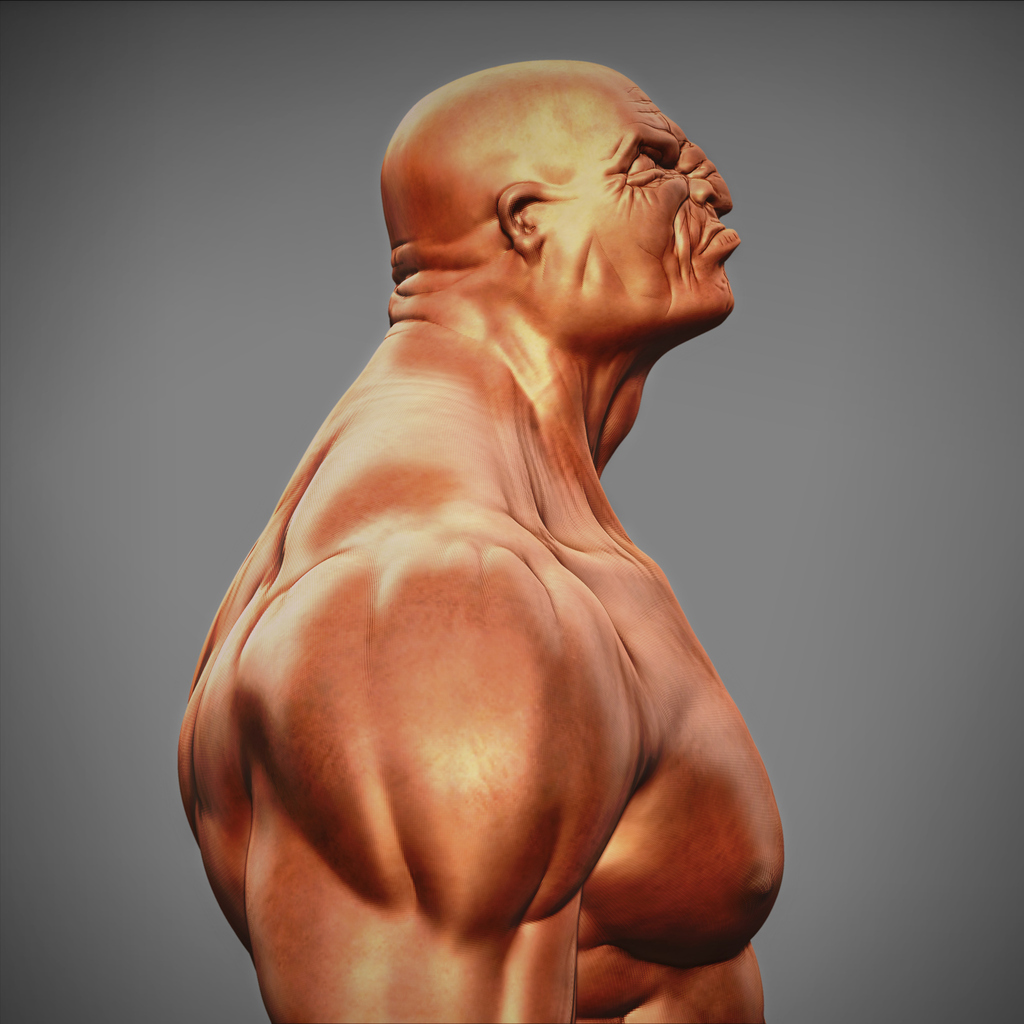
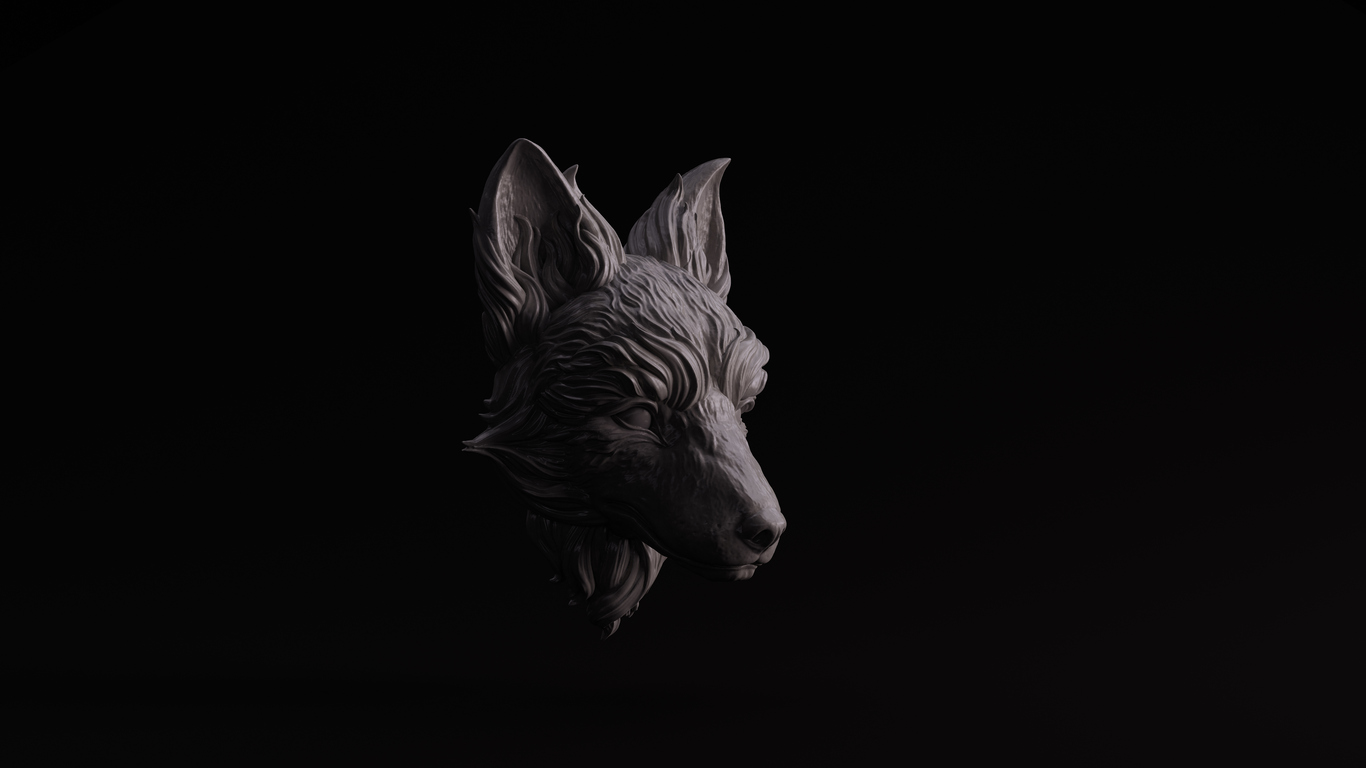
Start by importing your 3D model into Marmoset Toolbag. You can drag and drop files like FBX, OBJ or glTF directly into the viewport. Once your model appears in the scene, check that the materials and textures are properly assigned. If your model doesn’t come with materials, no worries. Toolbag comes with a rich material library that includes metal, fabric, plastic and more. Simply drag and drop materials onto your model to give it a realistic finish.
You can also fine-tune each material by adjusting parameters like roughness, metalness and normal maps. These small tweaks can make a huge difference in the realism of your final animation.
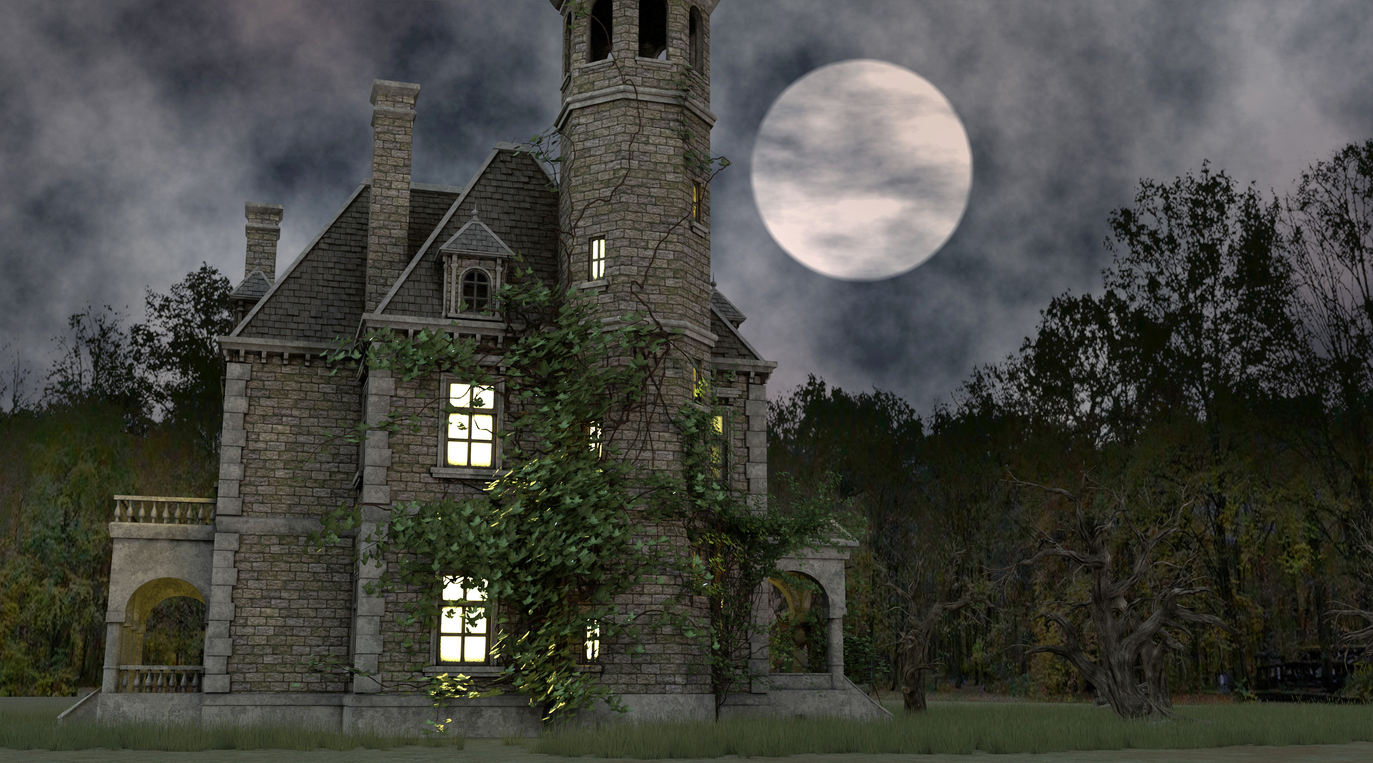
Step 2: Light the Scene
Lighting is everything in 3D rendering. Marmoset Toolbag gives you powerful tools to make your scene look polished. It starts with the environment sky, which provides ambient lighting and reflections. You can choose from a wide range of built-in HDRI images or import your own.
For more control, add directional, omni or spotlights to highlight specific parts of your model. A basic three-point lighting setup (key light, fill light and back light) is a solid starting point for most renders. Don’t forget to enable shadows for depth and realism.
If you're a student in the 3D Modeling Animation Art and Design Diploma at VCAD, learning these lighting techniques in a hands-on environment helps you develop the skills needed for professional-quality work.
Step 3: Add and Animate a Camera
Now it's time to bring your scene to life with animation. The easiest way to start is by animating the camera. Every scene in Marmoset Toolbag includes a default main camera, but you can also add your own.
Navigate to the frame where you want the animation to begin, position the camera and insert a keyframe. Move to another frame, change the camera’s position or angle and add another keyframe. Toolbag will smoothly interpolate the motion between the two points. You can create pans, zooms, fly-throughs or even orbiting shots with just a few keyframes.
For turntable animations, simply rotate your model instead of the camera. This is great for character turnarounds or product showcases.
Step 4: Use the Timeline and Keyframe Editor
Switch to the Animate workspace or open the Timeline and Keyframes windows manually. Set your total animation length and frame rate (usually 24 or 30 FPS). The timeline lets you scrub through your animation and fine-tune your keyframes.
You can also use the curve editor to adjust the ease-in and ease-out of your camera motion. This gives your animation a more natural, cinematic feel.
A lot of what students learn in animation classes at VCAD includes timing, keyframing and camera techniques. These foundational skills are essential for creating appealing animations that capture attention.
Step 5: Adjust Render Settings
Before rendering, open the Render settings panel. Here you’ll choose your resolution, aspect ratio and whether to render a video or image sequence.
For beginners, rendering an MP4 video is the simplest option. Set your resolution to 1920x1080 for full HD. Choose your preferred renderer: real-time raster or ray tracing. Ray tracing offers more realism, with better reflections and lighting, but takes longer to render.
If your system supports it, enable features like global illumination and ambient occlusion for added realism. Adjust the sample count to reduce noise and make sure your shadows look clean.
Step 6: Export the Animation
In the Video tab of the Render settings, set your output location and file name. Click "Render Video" and let Toolbag work its magic. Depending on your settings and animation length, this might take a few minutes or a few hours.
Once complete, you’ll have a polished video file ready to share on your portfolio, demo reel or social media.
Pro Tips for Beginners
- Always test your animation with a short, low-res preview before committing to a full render.
- Use the safe frame overlay in the viewport to make sure nothing important gets cut off.
- Save your project frequently, especially before major changes.
- Keep your camera movements smooth and intentional. Less is often more.
Final Thoughts
Rendering an animation in Marmoset Toolbag is not just a technical skill. It’s a way to showcase your creativity and design sensibility. Whether you're making a character presentation or a product ad, animated renders can elevate your portfolio and help you stand out.
At VCAD, students in the 3D Modeling Animation Art and Design Diploma Program learn to use tools like Marmoset Toolbag as part of a well-rounded curriculum. From character rigging to environmental lighting, the program covers the full pipeline of creating 3D art and animation. With guidance from experienced instructors and access to industry software, you’ll build a strong portfolio that’s ready for the job market.
So if you're passionate about creating and want to turn your ideas into reality, learning to render an animation in Marmoset Toolbag is a great place to start. And if you're ready to level up, consider exploring how VCAD can help you bring your creative vision to life.