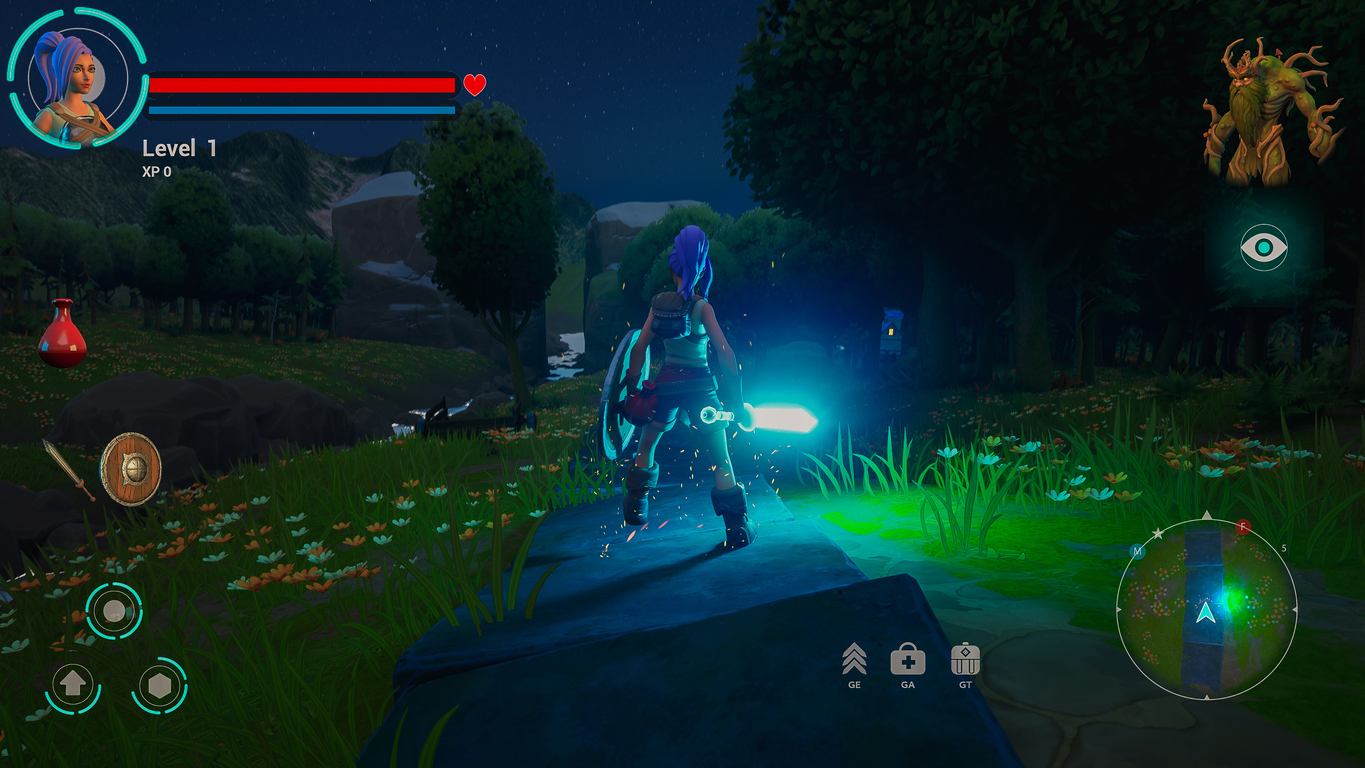
Every great game or animation starts with believable characters, and one of the most rewarding parts of digital sculpting is bringing those characters to life through dynamic poses. Whether you’re a hobbyist artist or a student exploring 3D art for games, learning how to pose in ZBrush will elevate your work from static to cinematic.
If you’ve ever admired a game model mid-action or a creature frozen in motion, that visual energy comes from smart posing. In this guide, we’ll walk through the practical ways to pose in ZBrush, along with tips to make your workflow smoother. And if you’re passionate about building a career in this world, we’ll show you how the Game Development and Design Diploma Program at VCAD helps turn that passion into professional skills.
Why Posing Matters in Digital Art?
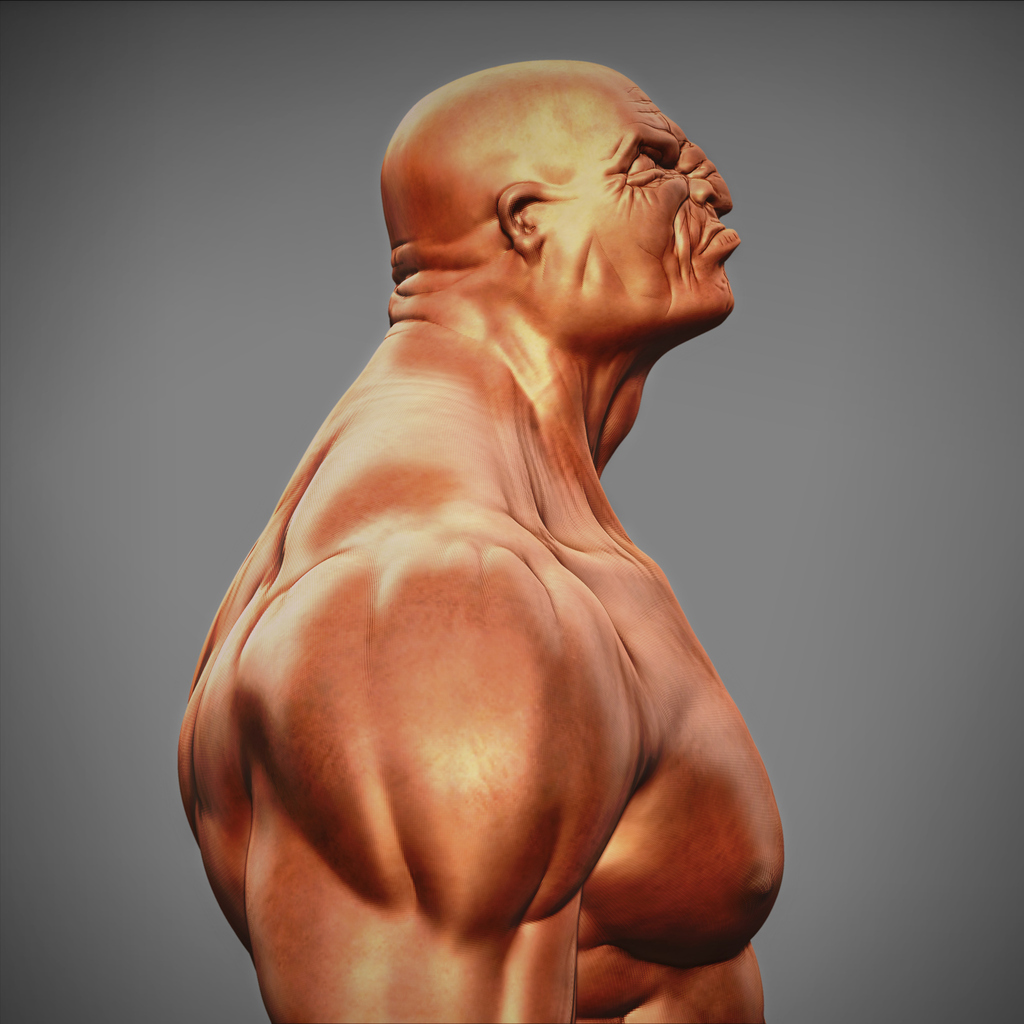
In the game and film industries, posing isn’t just about bending limbs, it’s storytelling. A pose defines emotion, attitude, and realism. Even a subtle head tilt or hand gesture can transform a character’s personality.
ZBrush is a favourite among digital sculptors because it allows artists to create, detail, and pose models all in one place. The software gives you the flexibility to manipulate millions of polygons while keeping your forms natural and expressive.
Preparing Your Model Before You Pose
Before diving into any movement, take a few minutes to prepare your sculpt. This simple prep step will make posing faster and cleaner.
1. Save a Neutral Base Pose
Always keep your T-pose or A-pose on a separate Layer. This lets you return to the base shape anytime or create different pose variations.
2.Use Polygroups for Organization
Assign different body parts to specific polygroups. It makes masking and isolating areas easier, especially when posing arms, legs, or clothing.
3. Lower the Subdivision Level
Working on a lower-res model helps ZBrush calculate deformations more smoothly. You can transfer the pose back to the high-res sculpt later.
4.Group Related Subtools
Combine accessories or armour pieces that move together, so your pose remains consistent across all subtools.
Three Ways to Pose in ZBrush
ZBrush offers several tools for posing, each designed for a specific situation. Here’s how to pick the right one for your workflow.
1. Transpose Master: The Professional’s Choice
Transpose Master is the go-to tool for posing complex characters that contain multiple subtools. It creates a temporary combined mesh so you can pose everything at once.
Steps :
1. Go to Zplugin → Transpose Master → TPoseMesh to create a merged, low-resolution proxy of your model.
2. Use the Gizmo 3D Tool to rotate, move, or scale parts. You can also activate ZSpheres Rig for a bone-like posing setup.
3. When you’re happy with the pose, click TPose → SubT to transfer it back to the original subtools.
4. If you check the Layer option, you can store poses non-destructively.
Pro Tip: Transpose Master’s Proxy Pose mode is perfect for massive sculpts with millions of polygons. You pose a lightweight version, then apply it to your detailed model later.
2. ZSpheres Rigging: Build a Digital Skeleton
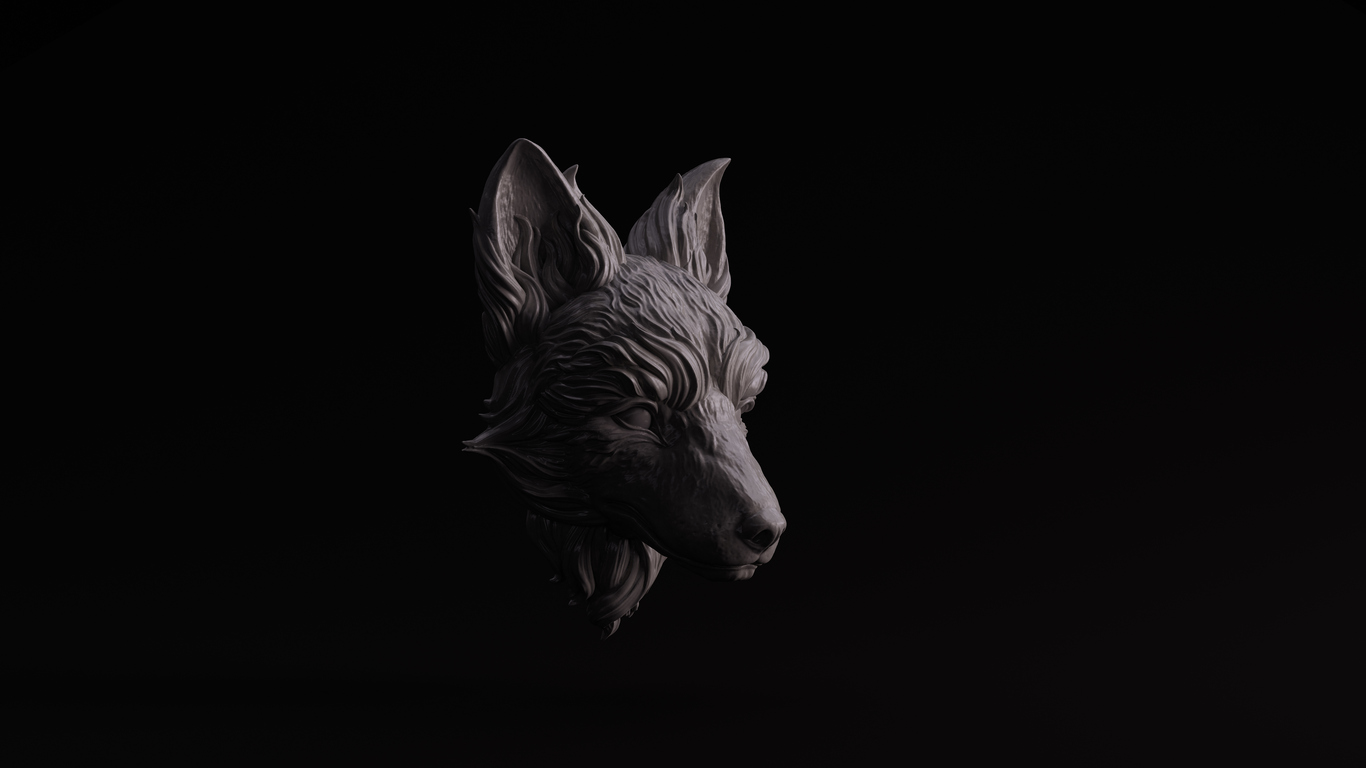
If your character is organic, like a creature, human, or alien, ZSpheres are an intuitive way to pose naturally. Think of them as a digital skeleton you can bend.
Steps:
1. Start with a ZSphere Tool, then open the Rigging menu and select your character mesh.
2. Add more ZSpheres to match the skeleton structure (spine, arms, legs).
3. Click Bind Mesh to connect the spheres to the model.
4. Rotate and move the spheres to create your pose.
5. When finished, accept the pose to apply it to your sculpt.
This approach is excellent for fluid, natural movement. It helps avoid distortions and keeps anatomy believable—essential for game design models that need realistic motion.
3. Gizmo 3D and Transpose Tools: Quick Adjustments
For smaller tweaks, like adjusting a hand, head tilt, or prop, Gizmo 3D is your best friend. It’s simple, quick, and perfect for fine-tuning a pose.
Steps:
1. Mask the parts you want to keep still by holding Ctrl and painting.
2. Invert the mask (Ctrl + click on the canvas) to make the area you want to move active.
3. Use the Gizmo 3D Tool to rotate or reposition the joint.
4. Hold Alt to move the Gizmo’s pivot point to the correct joint, then rotate again for natural movement.
5. Smooth any rough transitions with the Move Brush.
The Gizmo method gives you total control for subtle adjustments or secondary poses like shifting weight or bending fingers.
Pro Tips for Cleaner Poses
- Work in Small Steps: Rotate gradually and smooth after each move. Big movements can distort the mesh.
- Align Pivots Correctly: Keep Gizmo pivots at anatomical points like elbows, knees, or shoulders.
- Use Layers for Variation: Store poses on different Layers to test dynamic stances or alternate moods.
- Proxy First, Detail Later: Pose a low-resolution version first, then transfer to the full-res sculpt.
- Polygroups Are Power: Quickly isolate limbs or accessories for precise control.
Common Posing Problems and How to Fix Them
Problem: The mesh looks twisted or deformed.
Solution: Use smaller rotations and lower subdivisions. Smooth between each movement.
Problem: Gizmo is off-centre.
Solution: Unlock the Gizmo (Alt + click), reposition it to the correct joint, and lock it again before rotating.
Problem: Pose transfer errors from Transpose Master.
Solution: Don’t add or delete subtools while using Transpose Master. Keep your geometry consistent from start to finish.
Beyond ZBrush: Bringing Your Model Into Games
Once your model is posed, you can use GoZ, a feature that bridges ZBrush with external programs like Maya, Unreal, or Unity. It allows you to move your posed model directly into a game engine or animation software for rigging, rendering, or gameplay setup.
This workflow, sculpt, pose, export, is standard in the game development pipeline. Learning it not only improves your personal art but prepares you for real studio environments.
Structured Learning at VCAD
If creating 3D worlds and characters excites you, learning how to pose in ZBrush is just the beginning. At the Visual College of Art and Design (VCAD), the Game Development and Design Diploma Program gives you hands-on training in every step of the creative pipeline, from concept art to 3D modelling, animation, and game mechanics.
You’ll work with the same tools used by industry professionals, including ZBrush, Maya, and Unreal Engine. The program focuses on real-world production skills, creative problem-solving, and artistic direction, all taught by experienced instructors who know what today’s studios are looking for.
By the time you graduate, you’ll have a professional demo reel that showcases not only your modelling and texturing but also your ability to design and pose characters ready for action. That’s what sets a game artist apart.
Final Thoughts
Learning how to pose in ZBrush isn’t just a technical step, it’s part of the art of storytelling. Every curve and angle tells a story about your character’s mood, purpose, and personality. With practice, posing becomes second nature, and your creations start to breathe with life.
If you want to take that creativity further and explore how characters come alive inside real game worlds, consider studying game design and development program at VCAD. It’s the perfect way to turn your passion for digital sculpting into a future in the game industry.