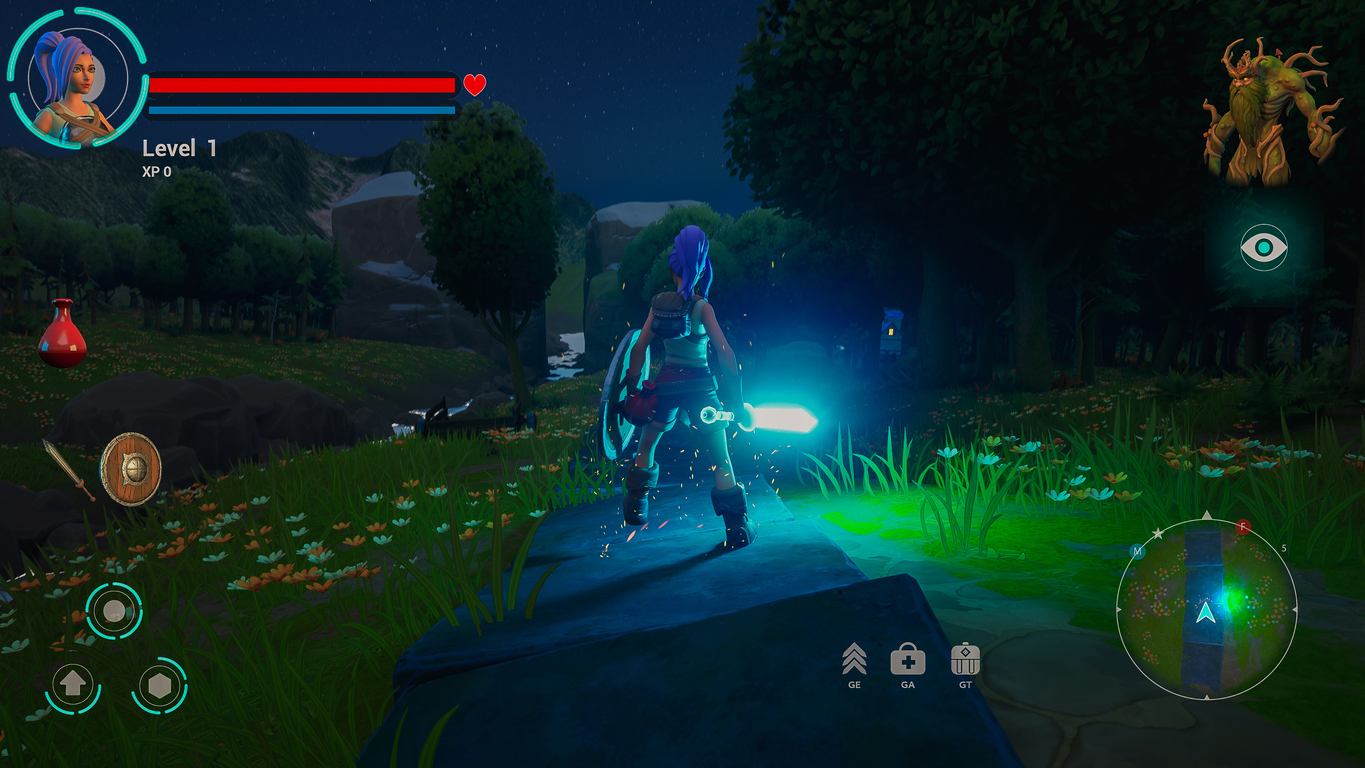
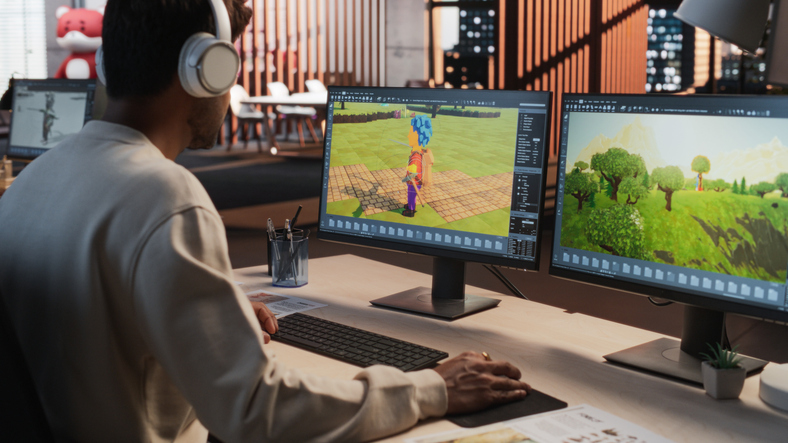
If you've ever dreamed of bringing your own characters or creatures to life for animation or gaming, you're not alone. ZBrush is one of the most powerful and widely used tools for 3D character sculpting, and the best part is, you don’t need to be a seasoned artist to get started.
This blog is your beginner-friendly introduction to modeling in ZBrush. We'll explore the basics, walk through how to get started and show how learning tools like ZBrush can support a creative future through programs like the 3D Modeling Animation Art and Design Diploma at VCAD.
What is ZBrush and Why Do Artists Love It?
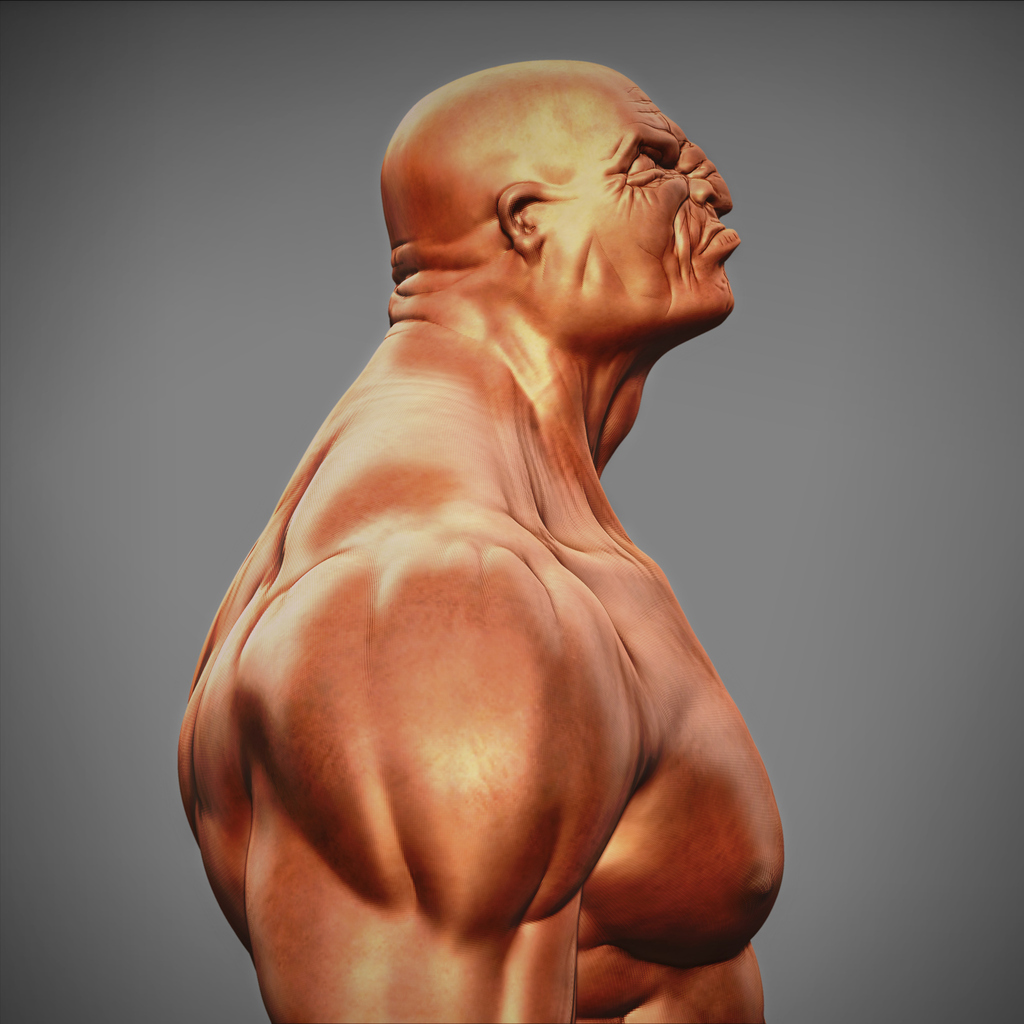
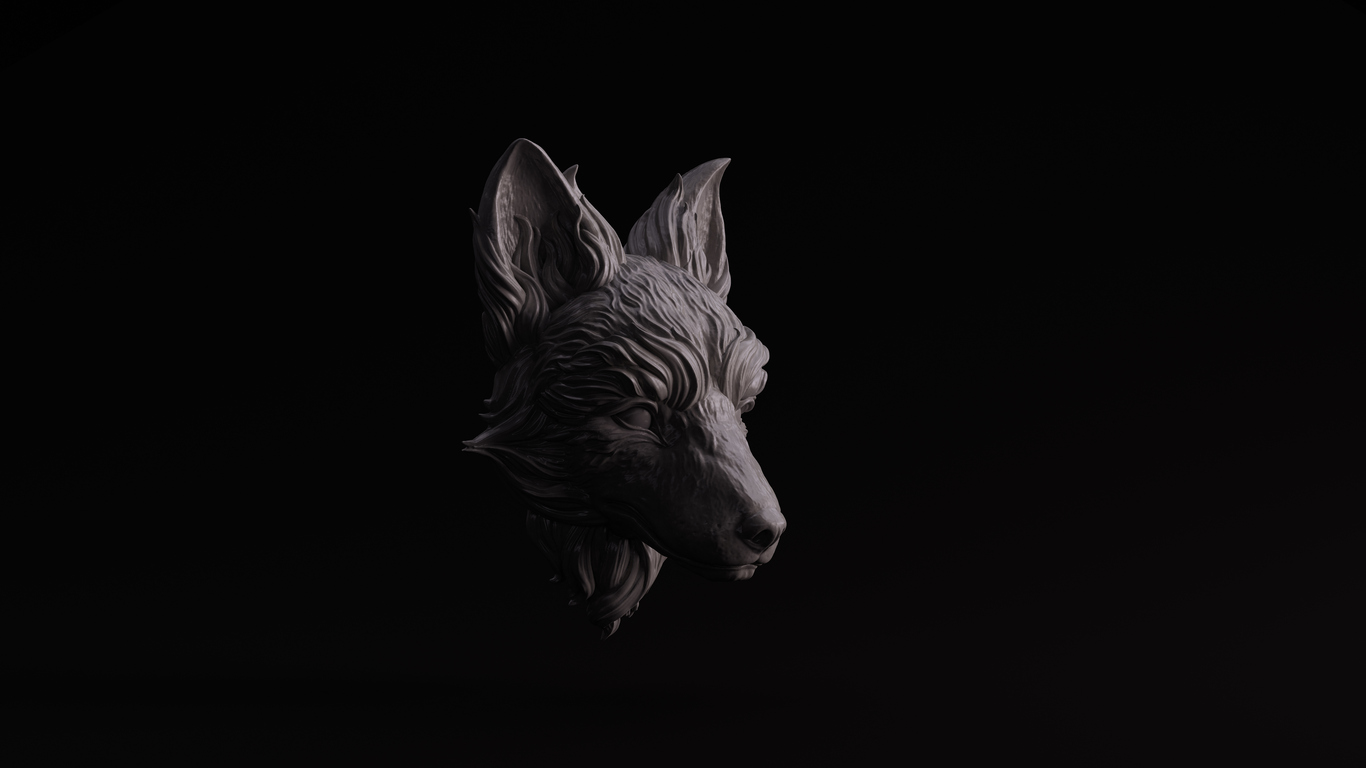
ZBrush is a digital sculpting software that lets you work with virtual clay. Imagine shaping a ball of clay with your hands, only it’s all happening on your computer screen. Instead of moving points and lines (like traditional 3D software), ZBrush allows you to push, pull, carve and shape 3D models in a very natural, artistic way. That’s why it’s so popular with character artists, game designers and animators alike.
It’s used in blockbuster films, AAA games and even by toy designers. For anyone starting out in animation, learning ZBrush gives you an edge. It’s an essential part of creating high-detail characters and creatures that stand out in animation pipelines.
Step-by-Step Guide: How to Model in ZBrush for Beginners
Starting with ZBrush might feel intimidating at first, especially with all the buttons and menus. Once you understand the basics, it becomes a creative playground. Here's a simple roadmap to help you begin:
Step 1. Start with a Base Mesh
When you open ZBrush, you can begin with a basic shape like a sphere or cube. Think of it as your digital lump of clay. From here, you can mould it into anything. Many artists use ZSpheres to quickly build out a character’s body structure, kind of like creating a wireframe or stick figure.
Step 2. Use Dynamesh to Shape Your Idea
One of ZBrush’s coolest features is Dynamesh. This tool lets you keep sculpting and stretching your mesh without worrying about the geometry getting messy. It remeshes your model dynamically, so you can keep building your character without limits. Beginners love Dynamesh because it lets you stay creative without technical headaches.
Step 3. Get Comfortable with Brushes
ZBrush has dozens of brushes, but you only need a few to get started. Here are the must-haves:
- Move Brush: Great for pushing big parts around, like adjusting arms or reshaping a head.
- Clay Buildup: Adds volume and gives a rough, sculptural texture. Perfect for muscles or creature features.
- Dam Standard: Cuts sharp lines and creases, ideal for detailing wrinkles or scars.
- Trim Dynamic: Flattens areas for a chiseled look. Helpful when refining surfaces.
Play around and see what each one does. You’ll find your favourites quickly.
Step 4. Work from Big to Small
Start by focusing on the big picture. Get the overall shape of your character right before diving into details like eyes or skin texture. This is where reference images come in handy. Whether it’s anatomy charts, animals or other character designs, references help make your model believable.
Step 5. Use Symmetry to Save Time
Modeling a human or symmetrical creature? Turn on symmetry (just press 'X' in ZBrush) and whatever you sculpt on one side will mirror on the other. It’s a lifesaver when you're just starting out.
Step 6. Subdivide for More Detail
As your character takes shape, you’ll want to add finer details. ZBrush lets you subdivide your mesh to make it smoother and more detailed. Once you’re happy with the form, you can carve in skin folds, pores, fabric texture or tiny horns.
Step 7. Retopology for Animation
If you’re planning to animate your character, you’ll eventually need to create a cleaner version of your model. This process is called retopology. Don’t worry if that sounds technical. ZBrush has tools like ZRemesher and the Retopo Brush that make this step easier. Clean topology ensures your character bends and moves properly during animation.
Common Beginner Mistakes to Avoid
Everyone makes mistakes when starting out. Here are a few to watch for:
- Jumping into details too fast: Always block out the shape first. If the proportions are off, no amount of detail will fix it.
- Sculpting without reference: Don’t rely on memory. Use photos, drawings, or real-life models to guide your work.
- Overcomplicating early on: Keep it simple. You don’t need millions of polygons to make something cool.
- Ignoring the pipeline: If you plan to animate your sculpt, plan for retopology, UVs and texturing from the beginning.
How ZBrush Works in Animation Pipeline?
ZBrush isn’t just a sculpting tool. It fits perfectly into a larger animation workflow. You can design and sculpt your character in ZBrush, then export it to other software like Maya or Unreal Engine to animate it. This is exactly how things work in professional animation studios.
That’s why ZBrush is part of many animation programs across the world, including the 3D Modeling Animation Art and Design Diploma at VCAD. In this fully online program, students learn how to sculpt in ZBrush, model in Maya, texture in Substance Painter and animate in industry-standard tools. Everything you need to build a job-ready portfolio.
What’s great about VCAD’s diploma is that it starts from the basics. You don’t need to have any prior experience in 3D or animation. You’ll start with foundational art skills and gradually move into more advanced topics like digital sculpting, character modeling and animation. By the end, you’ll have a demo reel filled with your own characters and creations.
Learning ZBrush as Part of a Bigger Picture
Learning ZBrush is exciting on its own, but it’s even more powerful when paired with other 3D skills. That’s what makes a program like VCAD’s diploma so valuable. It doesn’t just teach ZBrush. It shows you how to fit it into a complete animation workflow.
You’ll learn how to:
- Design characters from scratch
- Model and sculpt detailed 3D forms
- Retopologize and prepare assets for animation
- Texture, rig and animate your models
- Build a polished demo reel for your portfolio
Whether you’re aiming for film, studios or television, the skills you gain set you up for a wide range of careers in the creative industry.
Final Thoughts
ZBrush opens up a world of creative possibilities. If you're serious about turning your passion into a career, the 3D Modeling Animation Art and Design Diploma program at VCAD is a great place to start.
You’ll gain hands-on experience with the tools industries use, guided by experienced instructors who know the insights to pave your way to the creative journey.