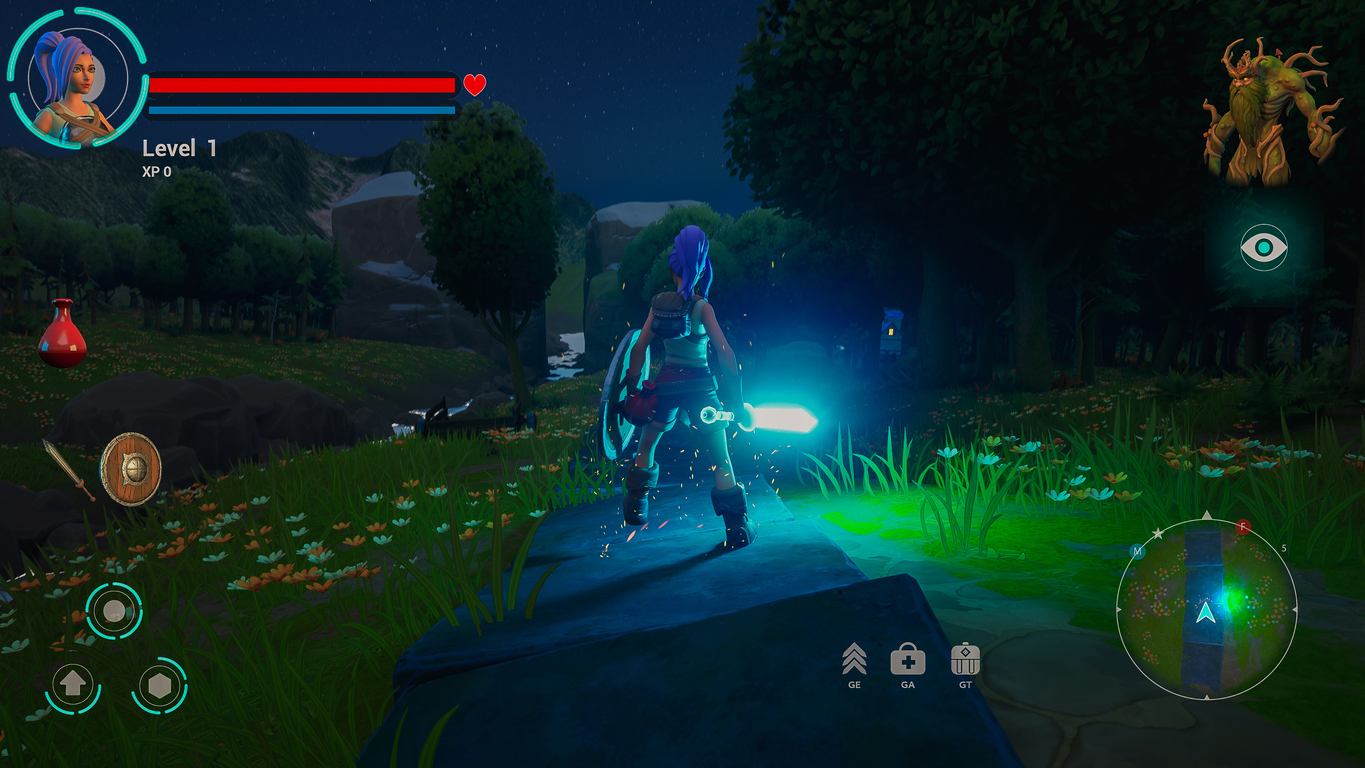
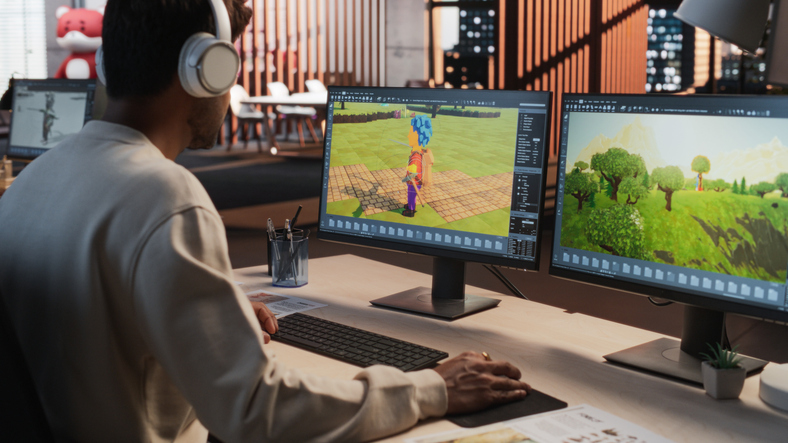
Photorealistic rendering transforms three‑dimensional models into two‑dimensional images that look like real photos. In games, films and marketing, these renders help artists communicate ideas without building physical prototypes, save time and resources and engage audiences more effectively.
If you are curious about how to make your digital worlds feel alive and you are considering a career in game design, this guide will break down the process step by step.
What Is Photorealistic Rendering?
Rendering engines simulate how light interacts with surfaces and travels through a camera lens. When done well, the resulting image can fool the eye. Designers use this technique to show interior spaces, new products, or fantastic environments long before they exist in the physical world. In game development, photorealism helps artists build convincing characters and environments that enhance storytelling and player immersion.
Key Elements of Photorealistic Renders
Achieving photorealism requires attention to several pillars:
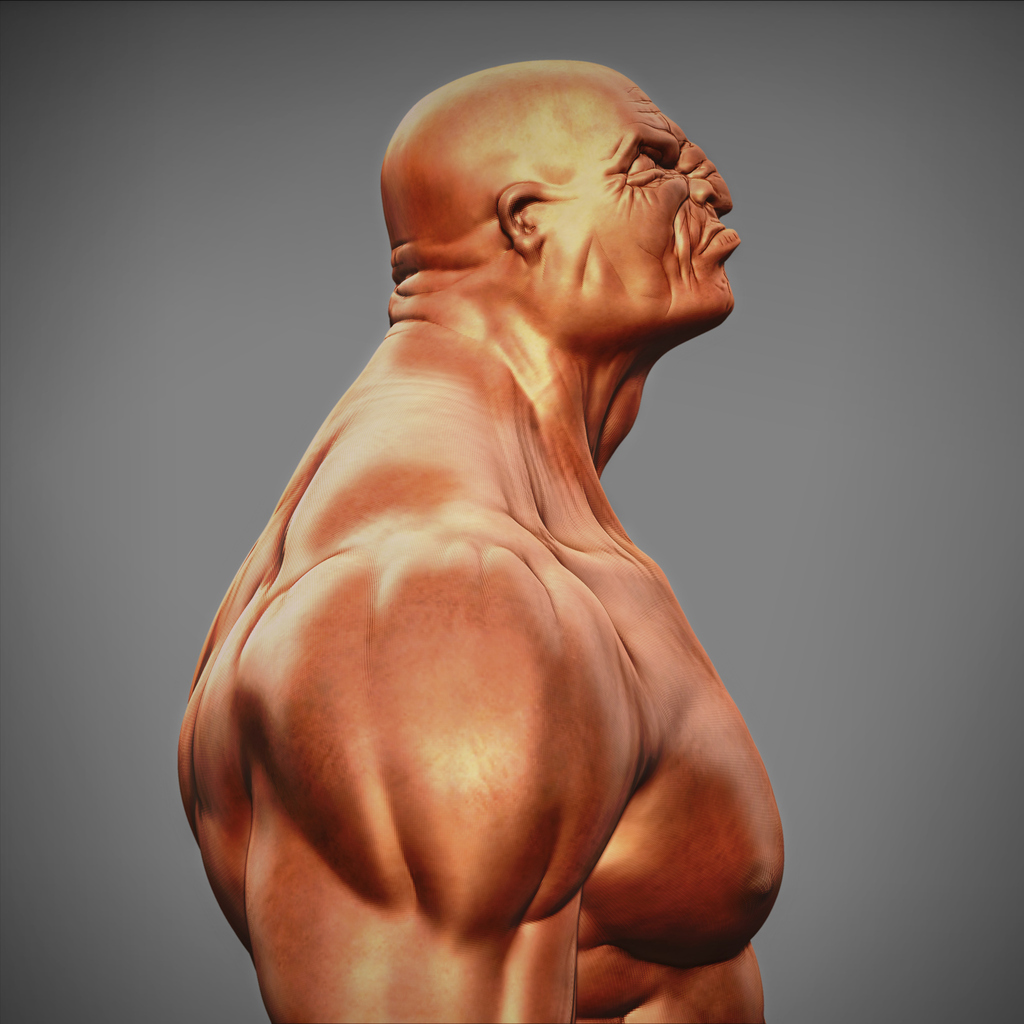
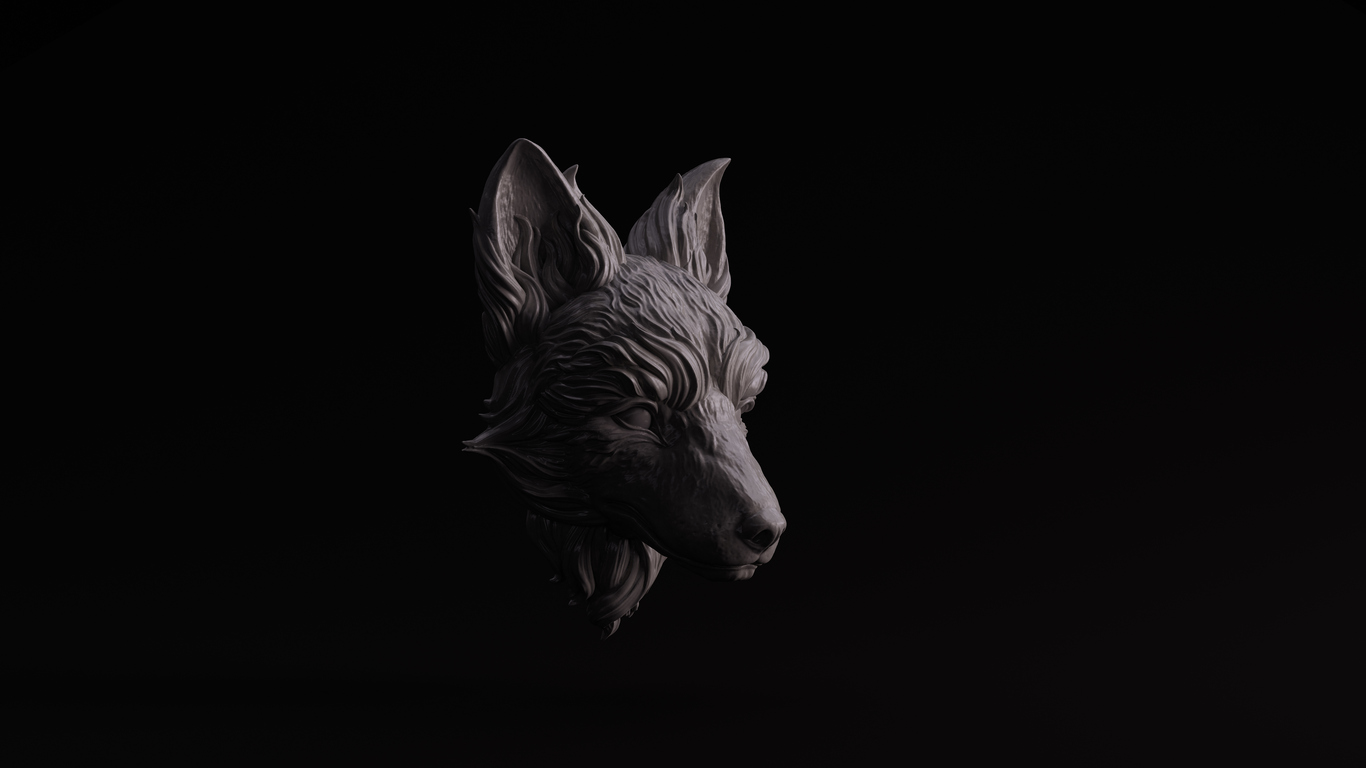
1.Detailed 3D Models
Begin with a clean, accurate model. Build your geometry to real‑world scale and keep it clean. Remove stray vertices, bevel sharp corners and only add fine details where they matter. Add small details only where necessary, too much geometry will slow down rendering without adding realism.
2. Quality Textures and PBR Materials
Textures give surfaces their look and feel. High‑resolution textures and proper UV mapping prevent pixelation. Physically based rendering (PBR) materials respond to light like real surfaces and come with roughness and normal maps. Adding subtle imperfections, scratches, bumps and smudges, enhances authenticity.
3. Accurate Lighting
Light has a profound effect on mood and realism. Place lights to mimic sunlight or interior fixtures. Adjust intensity, colour and shadow softness for mood. Use High‑dynamic range images (HDRI) environments for natural reflections and avoid flat ambient light that kills shadows.
4. Camera Composition and Settings
A photorealistic render should be composed like a photograph. Think like a photographer. Plan the mood of your scene and study real photos for reference. Apply the rule of thirds to guide the eye, choose natural focal lengths around 35–50 mm and use two‑point perspective to keep vertical lines straight. Depth of field and vignettes should support the story without overpowering it.
5. Rendering and Post‑Processing
Your choice of render engine influences quality and speed. Pick a render engine that suits your needs. V‑Ray, Corona and Octane offer high‑quality offline rendering, while Unreal Engine, Twinmotion and Enscape provide real‑time previews. Increase sample counts to reduce noise and render in passes for easier editing. Before hitting render, double‑check that objects aren’t floating or intersecting and that grass or vegetation is properly placed. In post‑production, adjust contrast and colour, and apply glare or vignette sparingly.
6. Imperfections and Finishing Touches
Perfect surfaces look fake. Real life is messy. Introduce minor scratches, fingerprints and slight misalignments. Round off edges to avoid an artificial look. These small details add soul to your render.
A Streamlined Workflow: How to Make Photorealistic Renders
Although photorealism is complex, you can break it down into five manageable steps. Below is a beginner‑friendly workflow that you can adapt to your project:
Step1. Model Your Scene
Start by creating accurate geometry. Use references to maintain proportion and scale. Keep your scene organised with layers and naming conventions.
Step2. Apply Textures and Materials
UV‑unwrap your models and apply high‑resolution textures. Use PBR materials with diffuse, roughness and normal maps. Add subtle imperfections.
Step3. Set Up Lighting
Choose an HDRI for natural illumination and add artificial lights as needed. Adjust brightness and colour temperature to create mood. Test different setups to find the right balance.
Step4. Render Your Scene
Select a render engine appropriate for your hardware and project goals. Increase sample counts to reduce noise. Render at low resolution first to test composition and materials, then at higher resolution for the final image.
Step5. Post‑Process
Use image‑editing software to tweak exposure, contrast and colour balance. Apply depth of field and vignette for a photographic feel.
Throughout, render low‑resolution previews frequently so you can experiment and refine without waiting hours. Remember that photorealism takes practice and patience.
Tips for Beginners: Composition and Storytelling
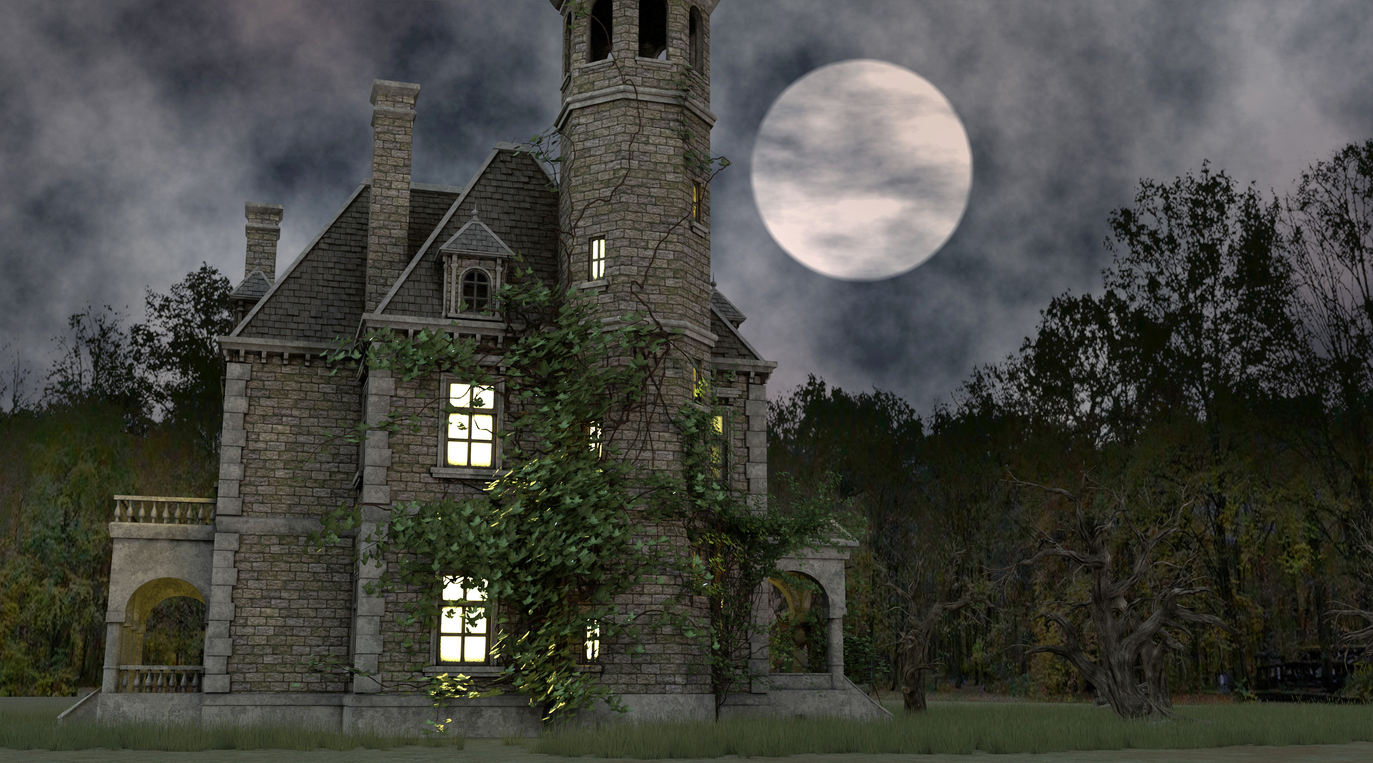
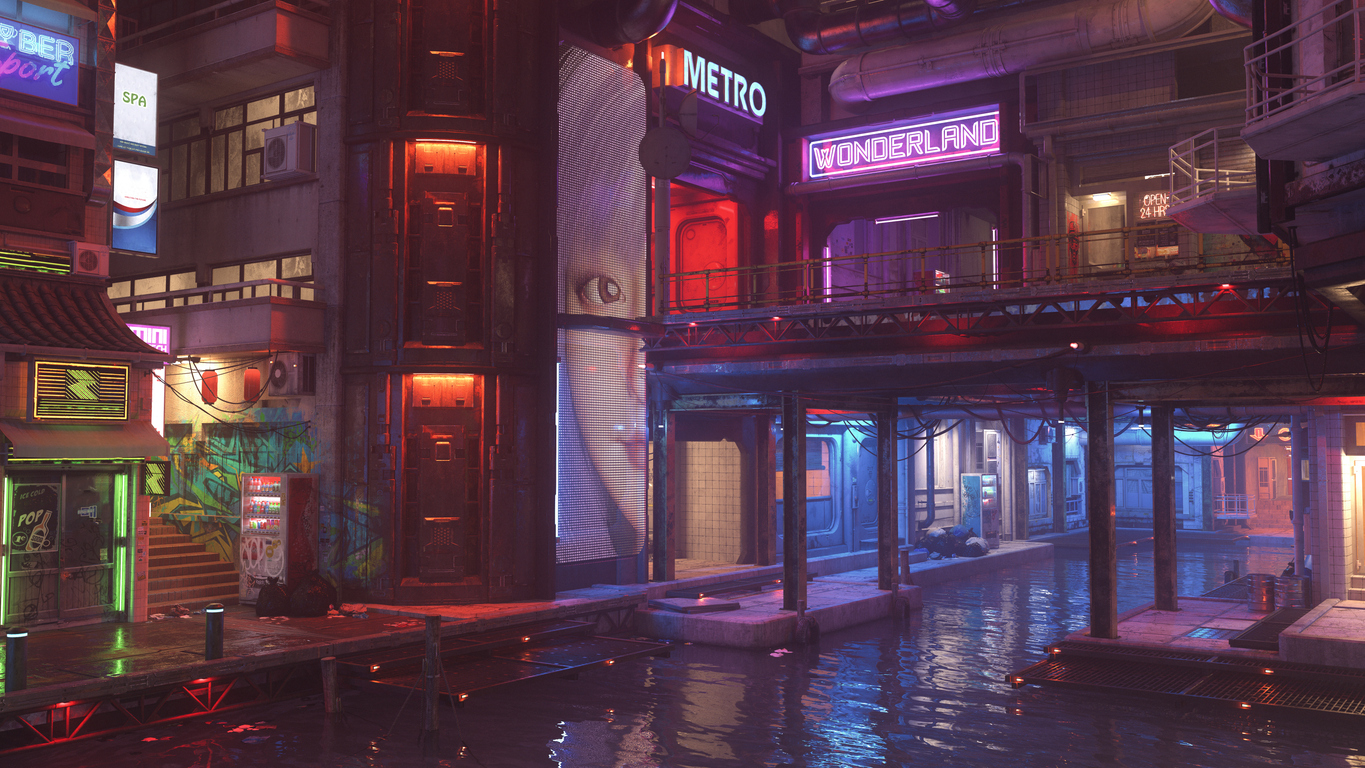
An eye‑catching render does more than show an object, it tells a story. Decide on the mood and purpose of your scene before placing the camera. Ask questions like: Is this a futuristic city, or a haunted castle? Use the rule of thirds and subtle symmetry to create balance. Depth of field, motion blur and vignettes can guide attention when used sparingly.
Building Your Skills and Portfolio with VCAD
While self‑learning is possible, structured education can accelerate your progress. The Visual College of Art and Design (VCAD) offers an online Game Development and Design Diploma built for creative minds who love interactive storytelling. Here are highlights that make the program stand out:
Industry‑Standard Software
Students work with tools in the pipeline of photorealistic rendering in games, such as:
You will build game assets using Maya for precision modeling, animation, and scene assembly, and ZBrush for creating incredibly detailed organic sculpts.
For advanced effects and complex procedural modeling, you will learn the powerhouse tool, Houdini.
To create photorealistic surfaces, you will master the Substance 3D suite, using Designer to build smart procedural materials and Painter to apply them directly to your 3D models.
- Real-Time Engine & Rendering
All your assets come to life in Unreal Engine, the leading platform for real-time photorealistic rendering, interactive experiences, and final game assembly.
You will use Python scripting to automate tasks and streamline your workflow across different software, a critical skill in a professional environment.
By learning this integrated pipeline, you gain focused, industry-relevant experience that prepares you for a career in modern game development and real-time 3D design.
Experienced Instructors & Professional Portfolio
You will learn from professionals through hands‑on projects, building a portfolio that showcases your skills. In 2025, Hollywood expert, Gil Nam Choi, joins VCAD as Head of Media programs. Students would not just gain knowledge but industry insights from experts. You will have a polished portfolio under guidance by the instructors by the end of the diploma, and the confidence to approach leading game studios.
Flexible Schedule
The autonomous online learning model provides 24/7 access to course materials and is mostly asynchronous, making it ideal for work and life balance.
Final Thoughts
Photorealistic rendering is both a technical and artistic endeavour. Mastering modelling, texturing, lighting, composition and post‑production will help you create believable images. Small imperfections and a compelling story will make your renders memorable.
If game development and design is your passion, learning to render photorealistically will elevate your work and open doors in the industry. The VCAD Game Development and Design Diploma provides a comprehensive and flexible path to acquiring these skills, guiding you from beginner to professional in a supportive, online environment.