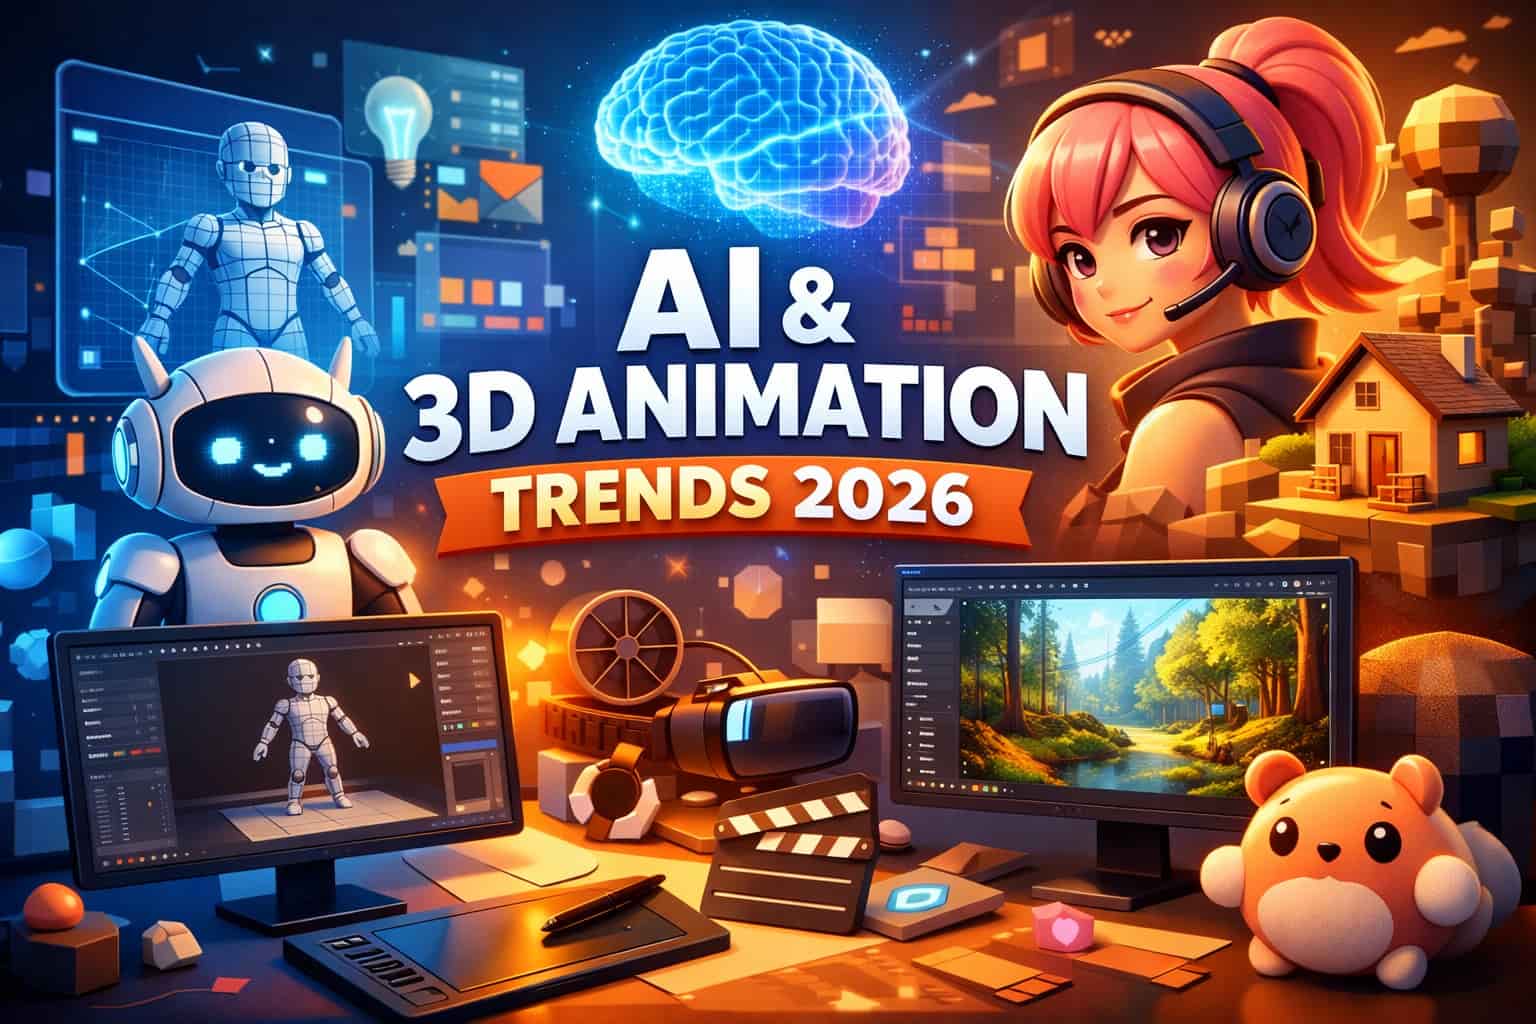
Have you ever dreamed of creating your own video game? Maybe you’ve imagined building a world, writing a storyline, or designing the next big adventure that players can’t put down. If so, learning how to make a game in Unity is one of the best ways to start. Unity is used by professionals and beginners alike because it’s powerful, flexible, and surprisingly easy to learn. Whether you’re interested in creating a mobile puzzle game or a large-scale 3D adventure, Unity gives you the tools to bring your ideas to life.
If you’ve ever thought about turning your love for gaming into a career, this guide will walk you through everything you need to know, from the basics of Unity to the step-by-step process of building your first game. You’ll also learn how VCAD’s Game Development and Design program can help you build the skills to take your passion to the next level.
What Is Unity?
Unity is a real-time 2D and 3D development platform that allows creators to design, animate, and publish games for nearly any device. It’s one of the most popular engines in the world used by indie developers, AAA studios, and even film and VR creators. The best part? You don’t need a programming background to start. Unity’s interface is visual and beginner-friendly, offering drag-and-drop tools and intuitive features that let you build something playable within hours.
Unity is built around three main components:
-
Scene View: your creative workspace where you design and arrange all the elements of your game.
-
GameObjects: the building blocks of your world, such as characters, trees, lights, or walls.
-
Components: the properties and behaviours that make those objects move, react, or glow.
With this foundation, Unity lets you handle everything from physics and lighting to audio and animation all in one place.
Why Unity Is a Good Choice for Beginners
There are plenty of game engines out there, but Unity stands out for newcomers because it balances simplicity with depth. Here’s why it’s such a great choice if you’re just starting out:
1. It’s Easy to Learn
Unity provides countless tutorials, documentation, and learning resources right inside the platform. Even if you’ve never coded before, you can quickly learn by experimenting and seeing instant results.
2. Cross-Platform Flexibility
Games made in Unity can be exported to more than 25 platforms, including PC, PlayStation, Xbox, Android, iOS, and even VR headsets. You can create a single project and share it with players anywhere.
3. Massive Asset Store
Unity’s Asset Store is like a treasure chest for beginners. It’s filled with free and paid assets, characters, animations, sound effects, and code templates that you can import instantly to speed up development.
4. Active Community
Unity has a global community of developers ready to help. Whether you’re debugging code or looking for inspiration, forums, Discord groups, and YouTube channels make it easy to find support.
5. Real-World Industry Use
Learning Unity gives you relevant, job-ready skills. It’s used by companies in gaming, animation, and film production, making it an excellent foundation for a creative career.
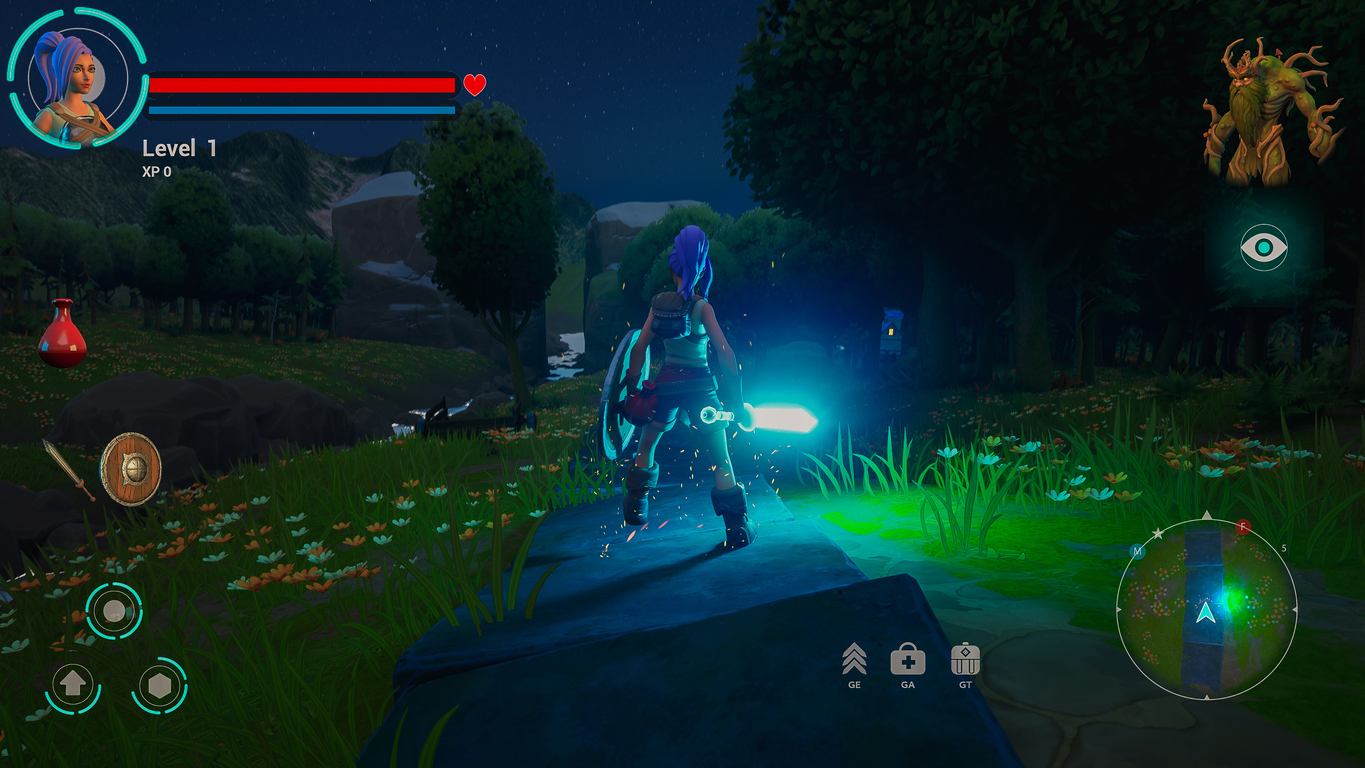
How to Make a Game in Unity for Beginners: Step-by-Step Guide
Now that you know why Unity is a favorite for new creators, let’s walk through the steps to build your first simple game.
Step 1: Download and Install Unity
Head to Unity.com and install Unity Hub. This launcher helps you manage different versions of Unity and your projects. Choose the latest LTS (Long-Term Support) version for stability. Once it’s installed:
- Open Unity Hub.
- Click New Project.
- Select either a 2D or 3D template.
- Name your project something like FirstGame and choose a save location.
Step 2: Set Up Your Game Scene
When the editor opens, you’ll see a blank scene. This is your digital canvas. Start by creating a simple environment:
- Go to GameObject → 3D Object → Plane to add a floor.
- Then add a Cube or Sphere to act as your player.
- Use the Move (W), Rotate (E), and Scale (R) tools to position your objects.
You can also change their colours by adjusting the material properties in the Inspector panel.
Step 3: Add Lighting and Camera Angles
Lighting affects the mood and visibility of your scene. Add directional light under GameObject → Light → Directional Light. Experiment with the brightness and angle to create the atmosphere you want. Adjust the Main Camera so it frames your player object properly. This is what the player will see when your game runs.
Step 4: Bring Your Player to Life
Now it’s time to add movement using a simple script. Unity uses C#, a beginner-friendly programming language. Create a new script called PlayerMovement.cs and paste the following code:
using UnityEngine;

public class PlayerMovement : MonoBehaviour
{
   public float speed = 5f;

   void Update()
   {
       float moveX = Input.GetAxis("Horizontal") * speed * Time.deltaTime;
       float moveZ = Input.GetAxis("Vertical") * speed * Time.deltaTime;
       transform.Translate(moveX, 0, moveZ);
   }
}
Attach this script to your player object, hit Play, and you’ll be able to move it with your keyboard.
Step 5: Add Physics and Interaction
If you want gravity and collisions, add a Rigidbody component to your player and colliders to other objects. This tells Unity to apply real-world physics, making your game feel more dynamic. Try adding a few cubes as obstacles or platforms and watch your player interact with them.
Step 6: Include Sound and Effects
Games come alive with sound. Drag an audio clip into your Assets folder, then attach it to an object using the Audio Source component. You can even play sounds when certain actions happen like jumping or collecting an item. To polish visuals, experiment with Unity’s Particle System to add effects like sparks, smoke, or explosions.
Step 7: Test and Refine
Playtesting is a crucial part of game design. Click Play frequently to test your work, fix bugs, and adjust settings. Every test helps you refine how your game feels and flows.
Step 8: Build and Share
Once your game feels ready:
- Go to File → Build Settings.
- Select your platform (Windows, Android, etc.).
- Click Build and Run to export your playable version.
You’ve just made your first game in Unity! It might be simple, but it’s a huge first step toward mastering game development.
Study Game Development and Design at VCAD
Learning on your own is exciting, but if you want to turn your passion into a career, formal training makes all the difference. That’s where the Visual College of Art and Design (VCAD) comes in. The Game Development and Design Diploma at VCAD combines creativity with technology, helping students build professional-level games and portfolios that stand out to employers.
Program Overview
This 72-week online diploma immerses students in the art and science of game creation. You’ll learn from experienced instructors who have worked in animation, game design, and post-production. Through hands-on projects, you’ll gain expertise in:
- Game theory and storytelling
- Character design and 3D modelling
- Level design and animation
- Environmental modelling
- Advanced storyboarding and production
By graduation, you’ll have a professional portfolio showcasing your own playable projects, ready to impress studios and employers.
Tools and Technologies You’ll Learn
Students train with industry-standard tools such as:
- Adobe Photoshop and After Effects
- Maya and Houdini for 3D modelling and animation
- Z-Brush for sculpting characters
- Unreal Engine and Unity for game development
- Substance Painter and Substance Designer for texturing
- Python for scripting
- Red Shift and Toolbag for rendering and presentation
These are the same tools used by major studios across the world, giving VCAD graduates an edge in a competitive industry.
Flexible Online Learning
The program’s Autonomous Learning Model allows you to study online at your own pace, ideal for working professionals or busy creatives.
- 95% Asynchronous learning gives you 24/7 access to materials.
- 5% Synchronous sessions offer live feedback and critiques.
- You’ll still receive instructor support, mentorship, and collaborative opportunities on your schedule.
Career Opportunities
After completing the Game Development and Design Diploma, you’ll be prepared for careers in:
- Game development studios
- Computer animation companies
- Post-production and visual effects
- Industrial design
- Software publishing
Possible job titles include Game Designer, Level Designer, Animator, Character Modeler, or 3D Environment Artist. The program is approved by the Private Training Institutions Regulatory Unit (PTIRU) of British Columbia, ensuring quality education and recognized credentials.
Final Thoughts
Learning how to make a game in Unity for beginners is the first step toward transforming your creativity into something tangible. The process might seem technical at first, but once you start experimenting, it’s incredibly rewarding to see your ideas take shape on screen.
With Unity, you’re not just learning to code you’re learning how to tell stories, build worlds, and bring characters to life. And with VCAD’s Game Development and Design Diploma, you’ll get the mentorship, structure, and portfolio you need to turn that creativity into a professional career.
Start building your first game today. The world of game design is waiting for your ideas.