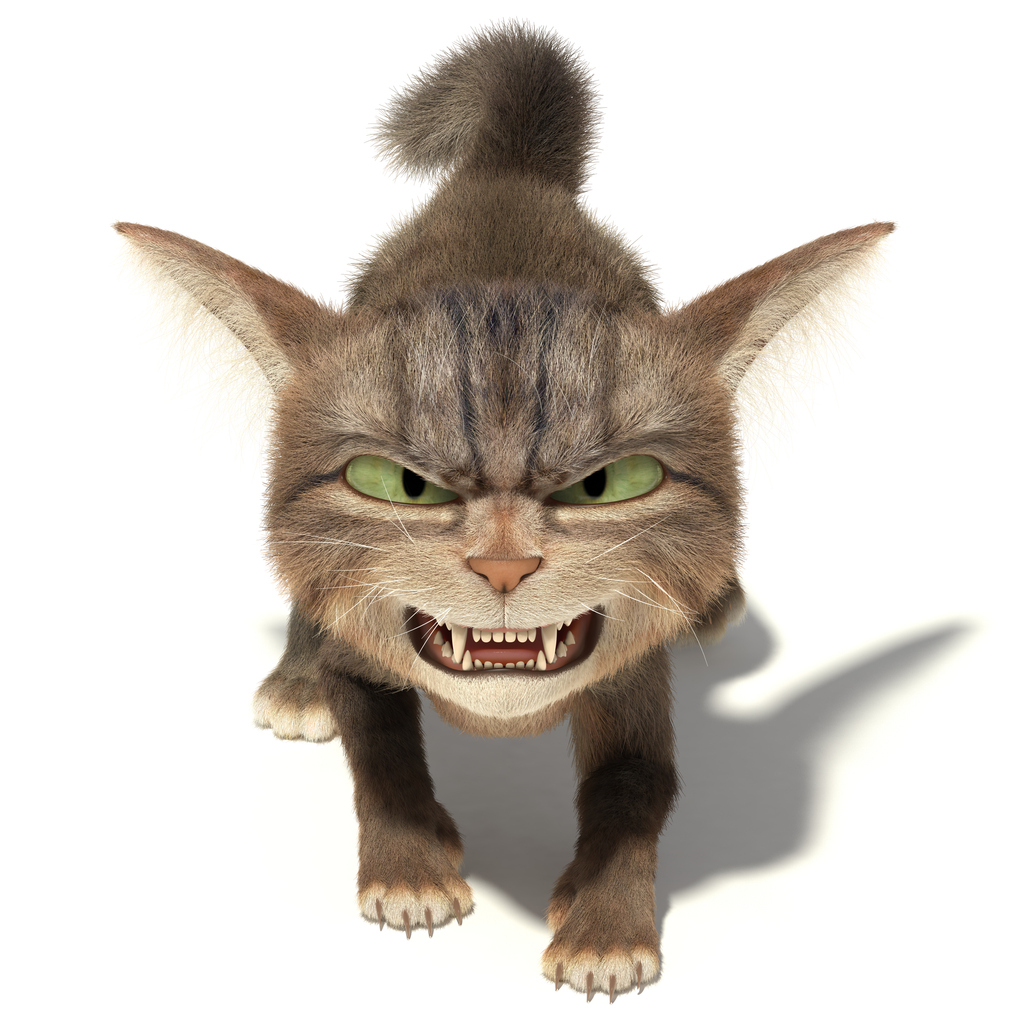
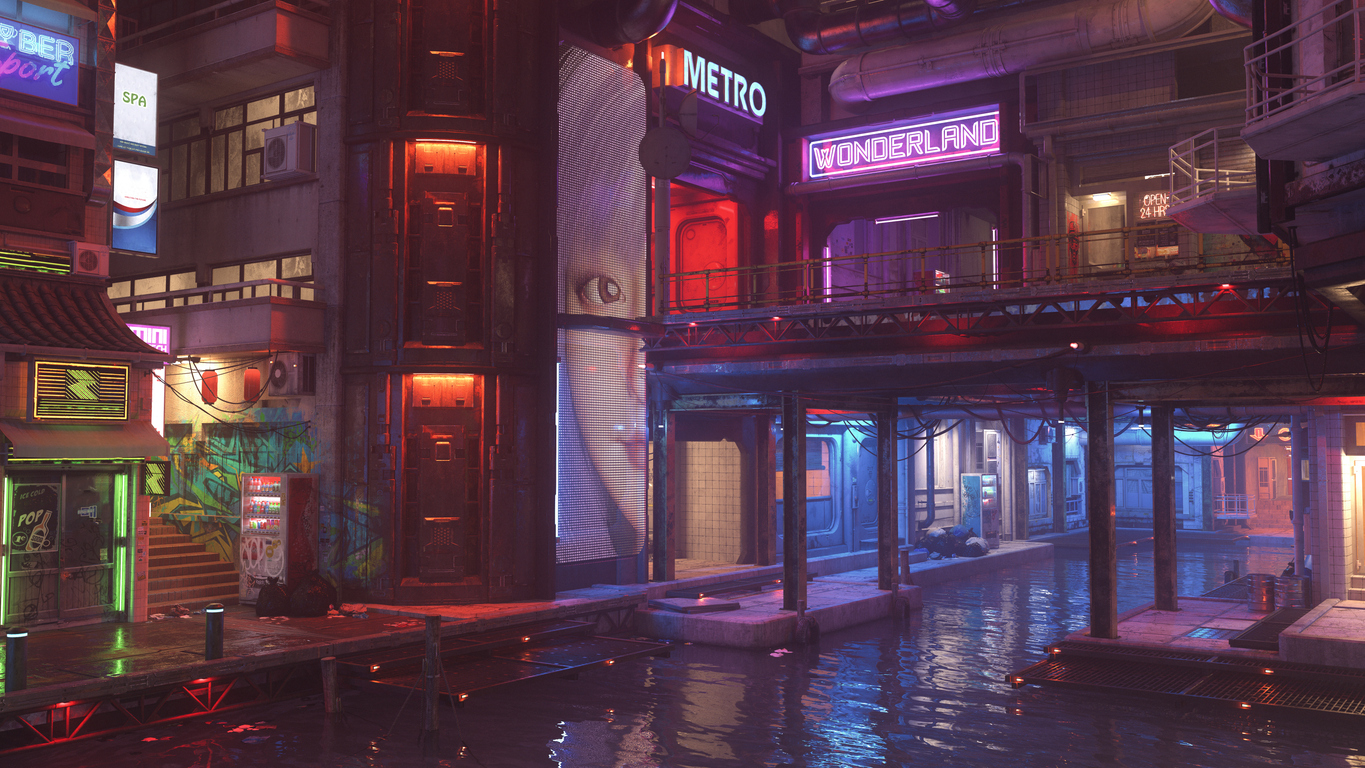
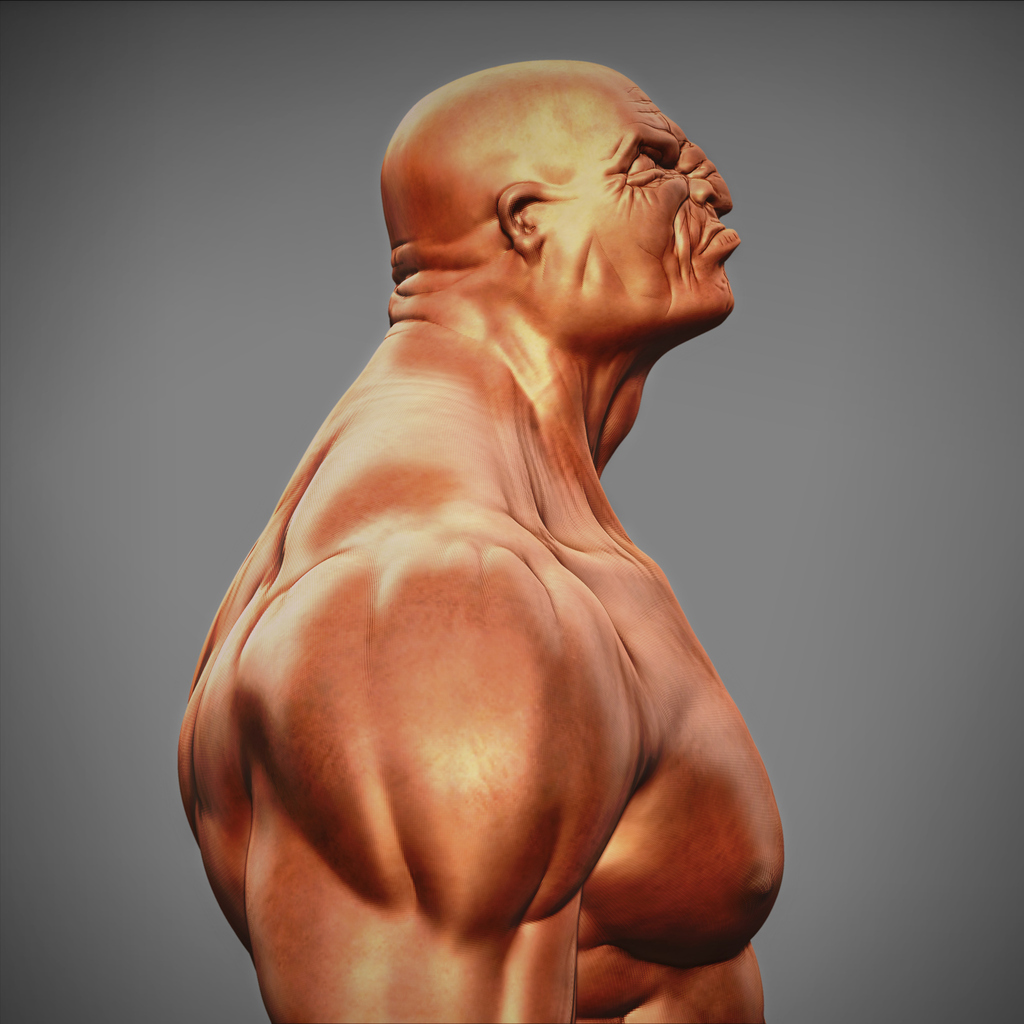
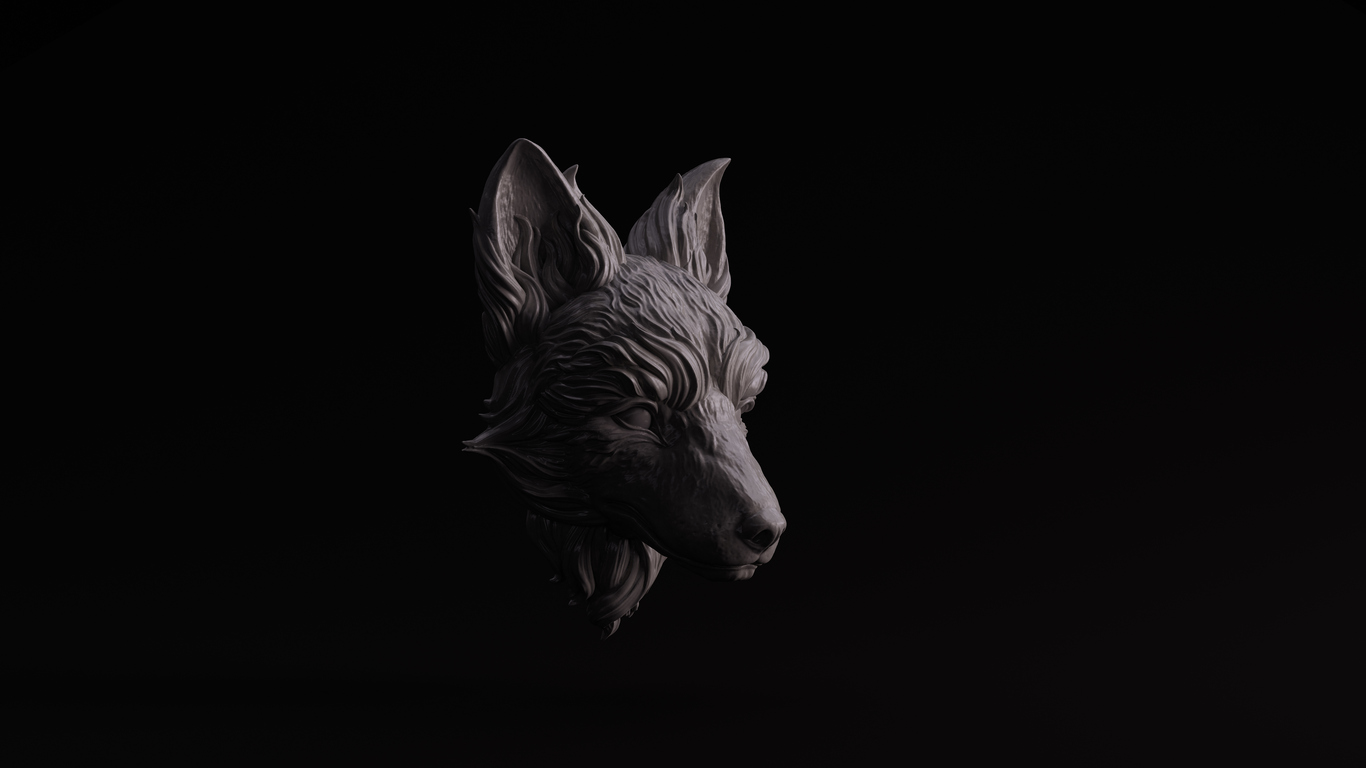
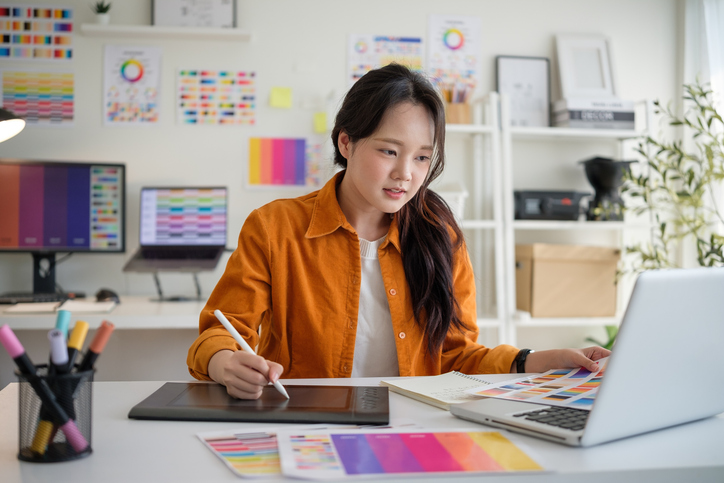
When you look at a polished game asset, a stylized character or an animated environment, textures are what make them feel convincing. Texturing brings colour, surface detail and realism to a model. Without it, even the most carefully sculpted object looks flat.
If you are starting your journey in digital art or animation, learning how to create a texture for a 3d model is an essential step. The process is much easier to understand once you break it down into clear stages, and it is a major part of what students practice in VCAD’s 3D Modeling Animation Art and Design Diploma Program. This guide introduces the basics and walks you through each step, so you can begin building your own textured creations.
What Is Texture Creation in 3D
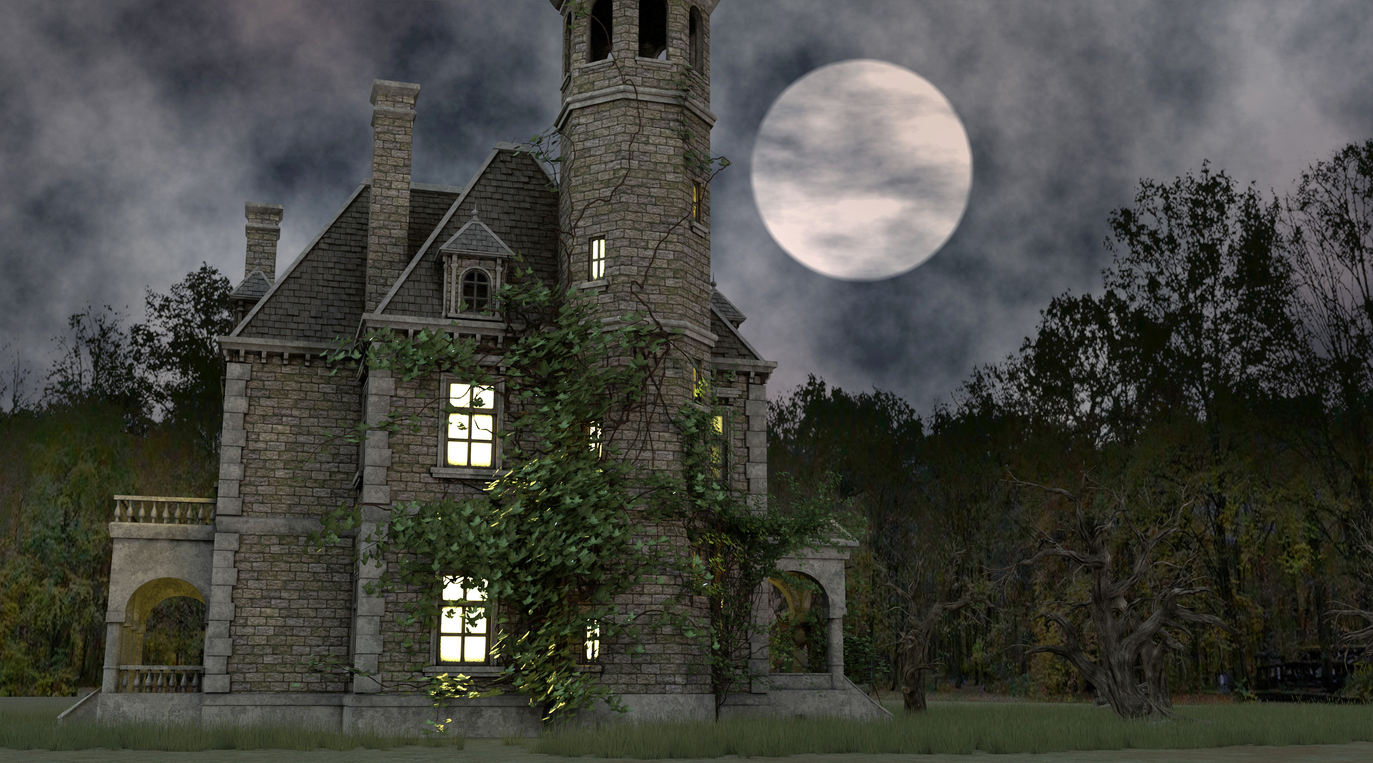
In simple terms, a texture is a 2D image that wraps around a 3D object. Think of it as the skin of your model. A texture can represent paint, metal, fabric, skin, stone or any surface you can imagine. In professional workflows, several maps are often layered together to describe colour, shininess, bumps and more.
When you create a texture for a 3d model, you are deciding how that object looks under light. You control where it is worn, where it is clean, how reflective it is and how rough or smooth it feels. It is a mix of technical setup and artistic decision making.
Industry Standard Tools Used For Texturing
Modern 3D production relies on a handful of key applications for UV unwrapping, texture painting and material setup. Many of these are taught directly in VCAD’s online 3D Modeling Animation Art and Design Program, which helps students get comfortable with software used in real studios.
Here are some of the main tools:
Autodesk Maya
A leading package for modelling and animation. Maya has powerful UV unwrapping tools and a full material editor, so it is often where models are prepared before texturing.
Adobe Substance 3D Painter
A go to application for painting directly on 3D models. It uses a physically based rendering workflow, so you can paint colour, roughness and metal information at the same time and see realistic results in real time.
Adobe Photoshop
Still widely used for 2D editing. You can use Photoshop to refine maps, adjust colours, create patterns and work over UV layouts.
Blender
A free and popular 3D tool that includes UV unwrapping, texture painting and a node based material editor. It is perfect for practising at home and building your own projects.
In VCAD’s program, students work with tools like these while building portfolio ready assets. That combination of technical training and creative practice is important if you want to move into animation, game development and design or 3D art.
Step One: UV Unwrapping
Before you paint anything, you need a clean UV map. UV unwrapping is the process of flattening a 3D surface into a 2D template, much like cutting and unfolding a cardboard box.
A good UV map is crucial because textures rely on it. If your UVs are stretched, overlapped or messy, your textures will look distorted.
As a beginner, aim for a few simple goals:
- Keep all UV shells inside the 0 to 1 UV space
- Avoid overlapping areas unless you want mirrored textures
- Use a checker pattern to spot stretching
- Try to keep texel density consistent, so details are similar in size across the model
Maya and Blender both include tools that help you unwrap and relax UVs. In many courses, including those in VCAD’s diploma program, UV mapping is introduced early so students can texture their projects with confidence later on.
Step Two: Baking High Resolution Details
If you have a high resolution sculpt or detailed model, baking allows you to transfer that information into texture maps that a lower poly model can use. This gives you detailed results without making your model too heavy.
You will often bake:
- Normal maps, for fine bumps and detail
- Ambient occlusion maps, for soft shadows in creases
- Curvature or thickness maps, for advanced material effects
Substance Painter makes baking fairly straightforward. You load the high and low versions of your model, bake the maps, then use them to drive smart materials and realistic wear and tear.
Step Three: Painting Your Textures
Now comes the fun part. Painting is where you really create a texture for a 3d model and bring it to life.
Hand Painting
Hand painting is perfect for stylized or painterly looks but also useful in realistic work. Programs like Substance Painter and Blender let you paint directly on the 3D model. You can layer colours, add scratches, dirt, fabric patterns and subtle colour variation.
You can also export the UV layout and paint on it in Photoshop. This is more traditional, but it helps you understand how the 2D image lines up with the 3D surface.
Procedural Texturing
Procedural methods use generators and smart materials to do some of the heavy lifting. For example, you can apply a smart metal material that already includes rust, edge wear and dirt based on baked maps. You can then tweak sliders to customize the look and add your own brushwork on top.
Substance Painter is popular because it combines these approaches. Many beginners use a smart material as a base, then refine it with hand painting to match their own style.
Step Four: Setting Up Materials
Once you have your maps, you connect them to a material in your 3D software or engine. Most modern tools use PBR materials, which typically include:
- Base colour or albedo
- Roughness
- Metalness or specular
- Normal map
- Optional maps like ambient occlusion or emission
In Maya, you might use an Arnold shader. In Blender, you would plug your textures into the Principled BSDF shader. The goal is the same. Your maps work together so the model reacts to light in a believable way.
This is also the stage where you test your work. Try different light setups, zoom in on important areas and check how your textures hold up at different distances.
Key Texture Maps You Should Know
To texture effectively, you should be comfortable with a few main map types.
Diffuse or Albedo Map
This is your base colour map. It holds the main colours and patterns.
Normal Map
A special map that fakes small bumps and details without adding more geometry.
Roughness Map
Controls how shiny or matte each area is. Dark values are more reflective. Light values are more dull.
Metalness or Specular Map
Defines which parts are metallic and how reflective surfaces are. Metals and non metals behave differently, so this map is very important for realism.
Once you know how these maps interact, you can create anything from stylized characters to realistic props for animation or games.
Growing These Skills With VCAD
If you want to grow as a 3D artist, structured training can help you move confidently into the industry. The 3D Modeling Animation Art and Design Diploma program at VCAD teaches the complete production pipeline, including modelling, UV unwrapping, texturing, lighting and animation.
Students work with the same tools used in professional studios, build a strong portfolio and study under instructors with real industry experience. The program supports students aiming for careers in animation, 3D art or game development and design.
If you are excited to learn how to create a texture for a 3d model and want a guided path with hands on training, VCAD can help you take the next step.