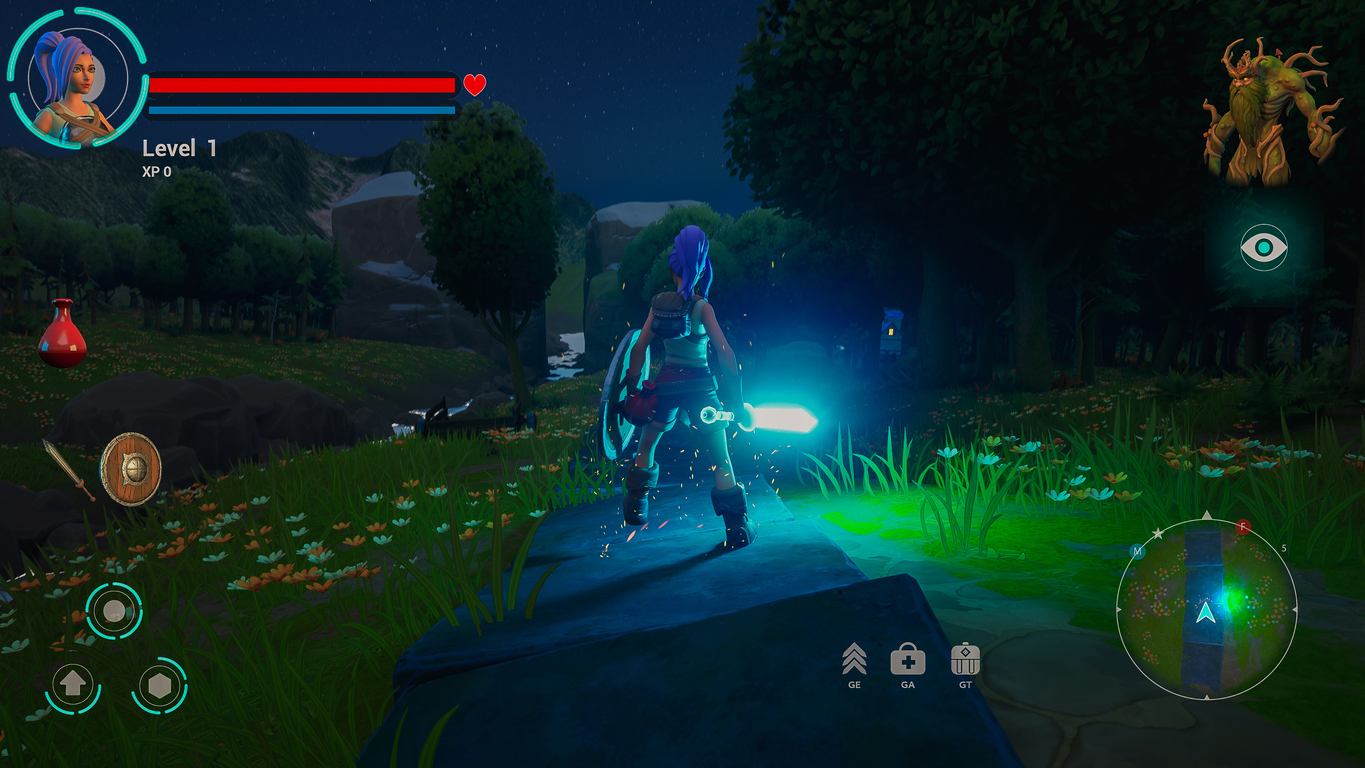
The world of digital art and design moves at a breakneck pace. Whether you are crafting a cinematic scene in a 3D modelling suite or exporting a motion graphics sequence for the web, the pace of your footage matters. One of the most important technical decisions you make as a creator is the frame rate you choose for your video.
Learning how to change frame rate in Adobe Media Encoder is not just a technical exercise; it is a skill that can shape the mood of your project and help you meet professional standards. In this post we will explore why frame rates matter, when you should change them and how to do it step by step. Along the way we will look at how this knowledge connects to broader skills taught in programs like VCAD 3D Modelling Animation Art and Design Diploma to start a career.
Why Frame Rate Matters?
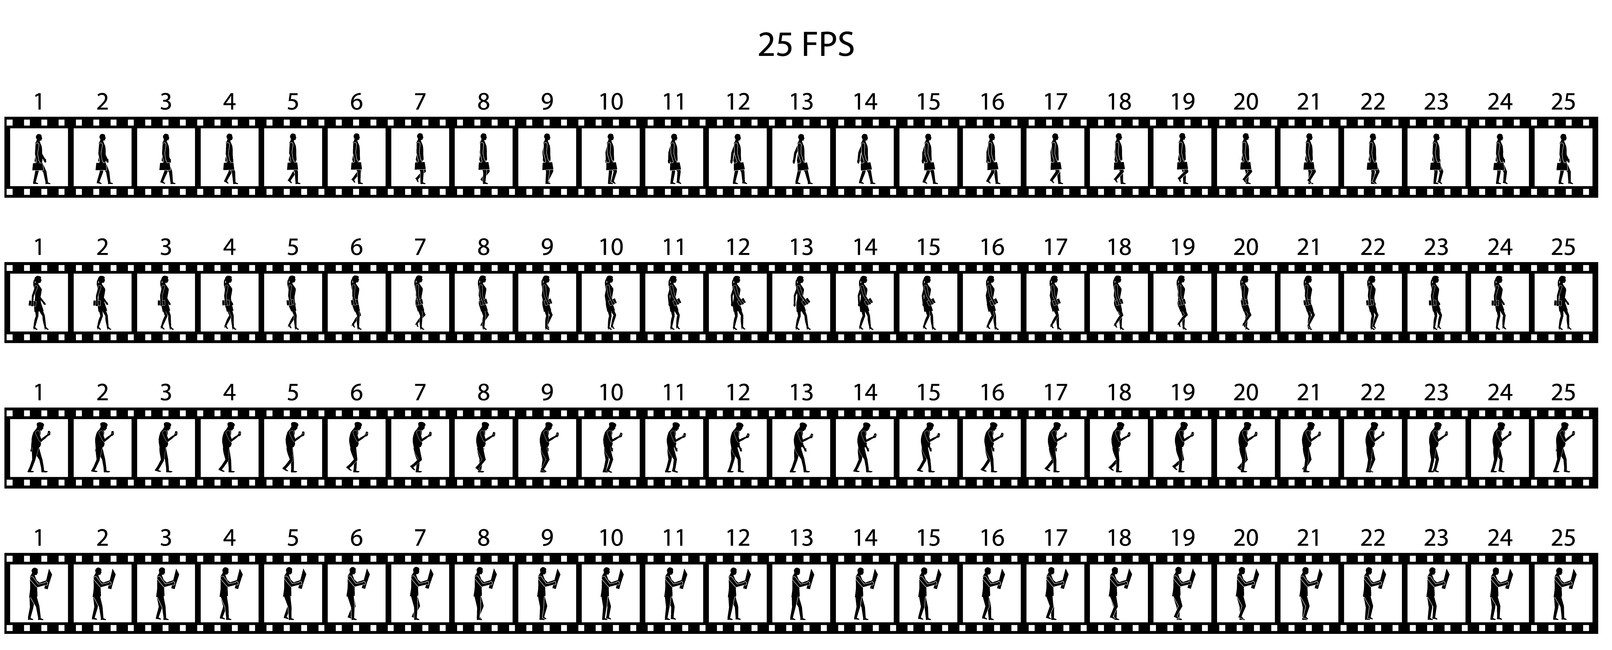
A frame rate, measured in frames per second (fps), describes how many still images appear every second of video. Higher fps produces smoother motion but results in larger files and more bandwidth; lower fps may look cinematic but can stutter if not reduced evenly. Standard rates include 23.976 fps for film, 29.97 fps for North American television and 25 fps for European broadcasts. Matching your render and export fps prevents speed changes and audio issues and ensures your video meets technical requirements.
Beyond meeting standards, frame rate shapes style. High fps captures fast motion smoothly, while low fps can create a stop motion look. More frames mean more data, so you must balance artistic goals with rendering time and file size.
When Should You Change Your Frame Rate?
Keep your output fps equal to your source whenever possible because footage looks best at its native rate. Change it only when necessary. Common reasons include meeting broadcast or platform requirements, reducing file size for web delivery, creating time‑lapse or slow‑motion effects and correcting variable‑frame‑rate footage annenbergdl.org. For example, a 24 fps film might need conversion to 30 fps for television or 60 fps for gaming. Time‑lapse footage is captured at a low rate and played back faster, and fixing variable fps prevents audio drift. These scenarios arise frequently in professional projects and are part of what students explore in VCAD courses.
How to Change Frame Rate in Adobe Media Encoder?
Method 1: Apply a preset
The simplest way to set a frame rate is by using a built‑in preset. Drag your clip into the queue, open the Preset Browser and apply an option like YouTube 1080p 29.97 fps, then click the green play button. Presets bundle resolution, codec and fps for quick conformity. After applying one you can tweak bit rate or resolution in Export Settings and save it as a custom preset for future use. Always double check the fps displayed in the queue to ensure it matches your intent.
Method 2: Customise the Export Settings
When you need more control, open Export Settings from the queue, uncheck Match Source and choose a new fps from the drop‑down (note that some codecs restrict available values). Select a time interpolation method: Frame Sampling repeats or drops frames, Frame Blending averages neighbouring frames and Optical Flow synthesises new frames for smooth motion. You can also adjust resolution or audio sample rate while you are here and save the combination as a custom preset. Always preview your result. This flexibility lets you deliver multiple versions for different clients.
Method 3: Interpret Footage
For clips with unusual or variable fps, use Interpret Footage. Right click the clip or choose File → Interpret Footage, enter the fps you want, and Media Encoder will treat it as if it were recorded at that rate without creating new frames. This method speeds up or slows down video and audio, so you may need to mute or replace the soundtrack. After interpreting, export using a preset or custom settings and review the pacing.
Best Practices to Adjust Frame Rate
Follow a few guidelines when adjusting fps. Use the original fps whenever possible because footage looks best at its native rate. If you must lower fps, divide the original evenly to avoid irregular motion (for example, 24 fps to 12 fps). Check that your chosen codec supports the fps you want. Keep an eye on audio synchronisation; changing fps or interpreting footage alters clip length, so confirm that voiceovers and sound effects align with the visuals. When working with variable‑frame‑rate footage, transcode it to a constant fps before editing to avoid timing issues. Preview your output and experiment with interpolation methods; each project may benefit from a different setting. Some platforms convert your file to their preferred fps, so check their specifications in advance.
Structured Learning with VCAD Program
Frame rate decisions are part of a larger creative workflow. In VCAD 3D Modelling Animation Art and Design Diploma students learn not only to model, rig, animate and render but also to deliver projects in the correct formats.
They practice selecting presets, customising export settings and interpreting footage as they develop portfolios. If you’re interested in building a career in animation or design; this program blends artistic training with the technical knowledge needed to succeed.
The diploma covers drawing, digital sculpting, concept art and animation principles alongside technical training in Maya, ZBrush and Adobe Creative Cloud. You graduate with a portfolio that demonstrates storytelling and technical skills. Lessons on frame rate changes, colour management and file formats are woven into projects so you build habits that translate to professional workflows.VCAD connects students with industry trends and expectations.
Final Thoughts
Frame rate may seem like a minor detail, but it has a significant impact on the look and feel of your video. Adobe Media Encoder offers three clear methods for adjusting fps: apply a preset, customise export settings or reinterpret footage. Each method serves a different purpose, whether you are conforming to platform requirements, crafting a time‑lapse or ensuring your animation plays back smoothly. By following best practices and experimenting with interpolation modes, you can maintain quality and storytelling integrity.
As you refine your technical skills, remember that learning to control frame rate is part of mastering the larger workflow of digital art. The program like VCAD 3D Modelling Animation Art and Design Diploma guide you through this journey, blending creativity with technology. Whether you are an aspiring animator, a game artist or someone who loves visual storytelling, understanding how to change frame rate will help you bring your ideas to life with clarity and confidence.