Bringing a scene to life is more than modelling or texturing. It’s about how you guide the viewer’s eye and movement. In a real-time engine such as Unreal Engine (UE5), animating the camera can turn a static environment into a dynamic cinematic sequence.
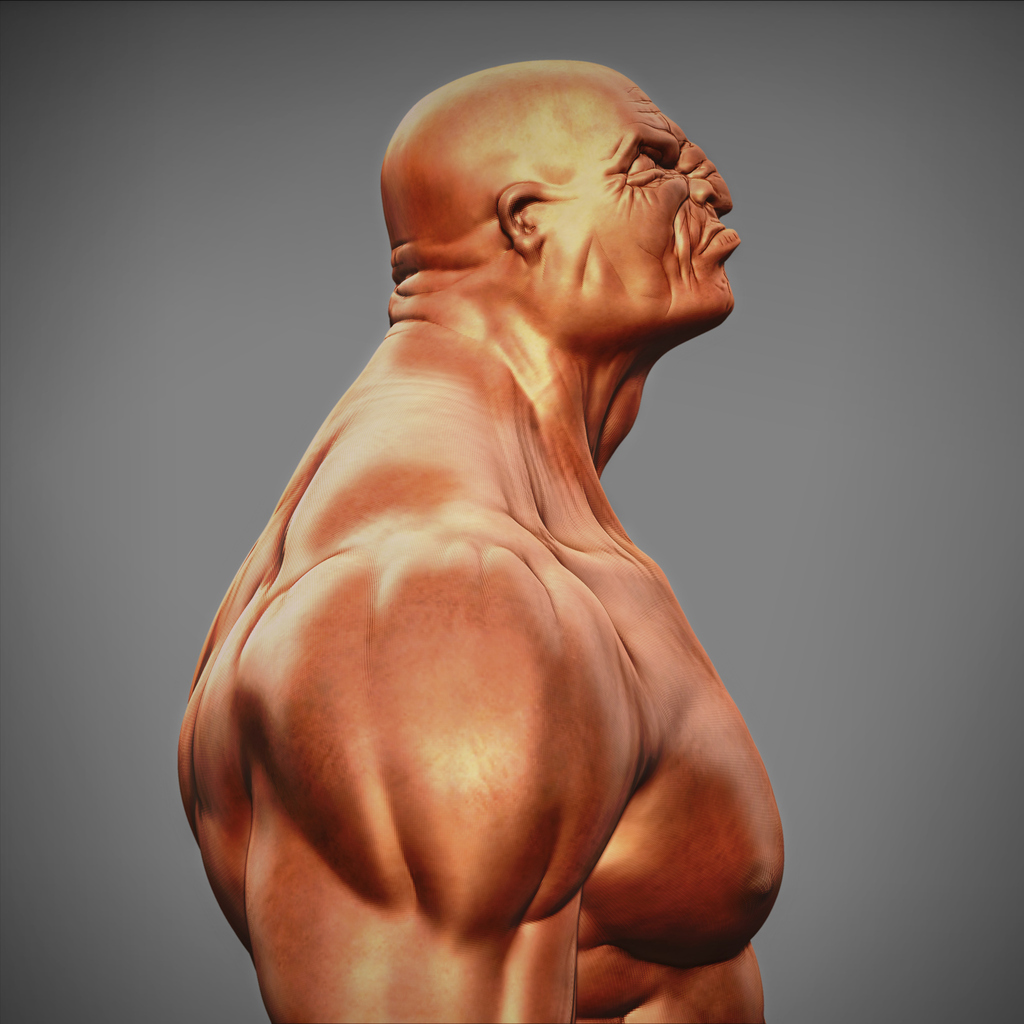
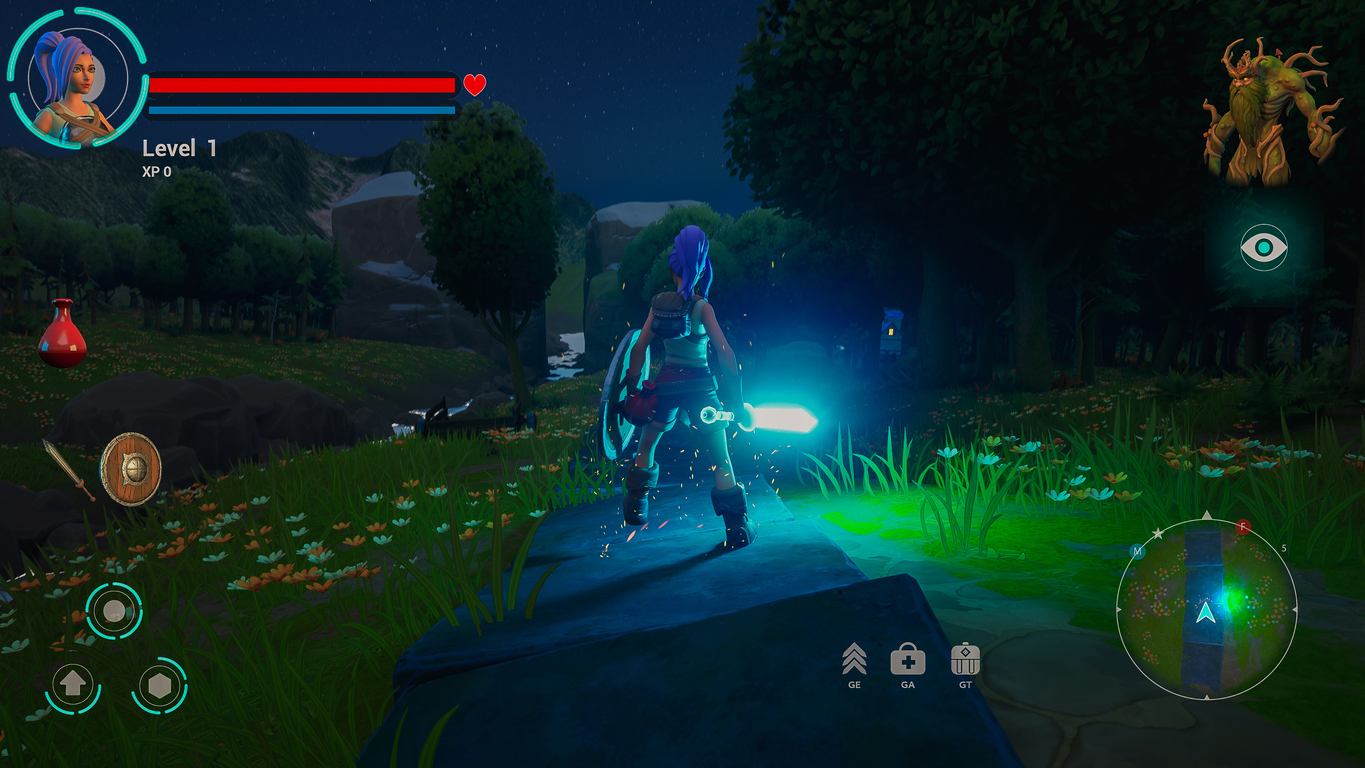
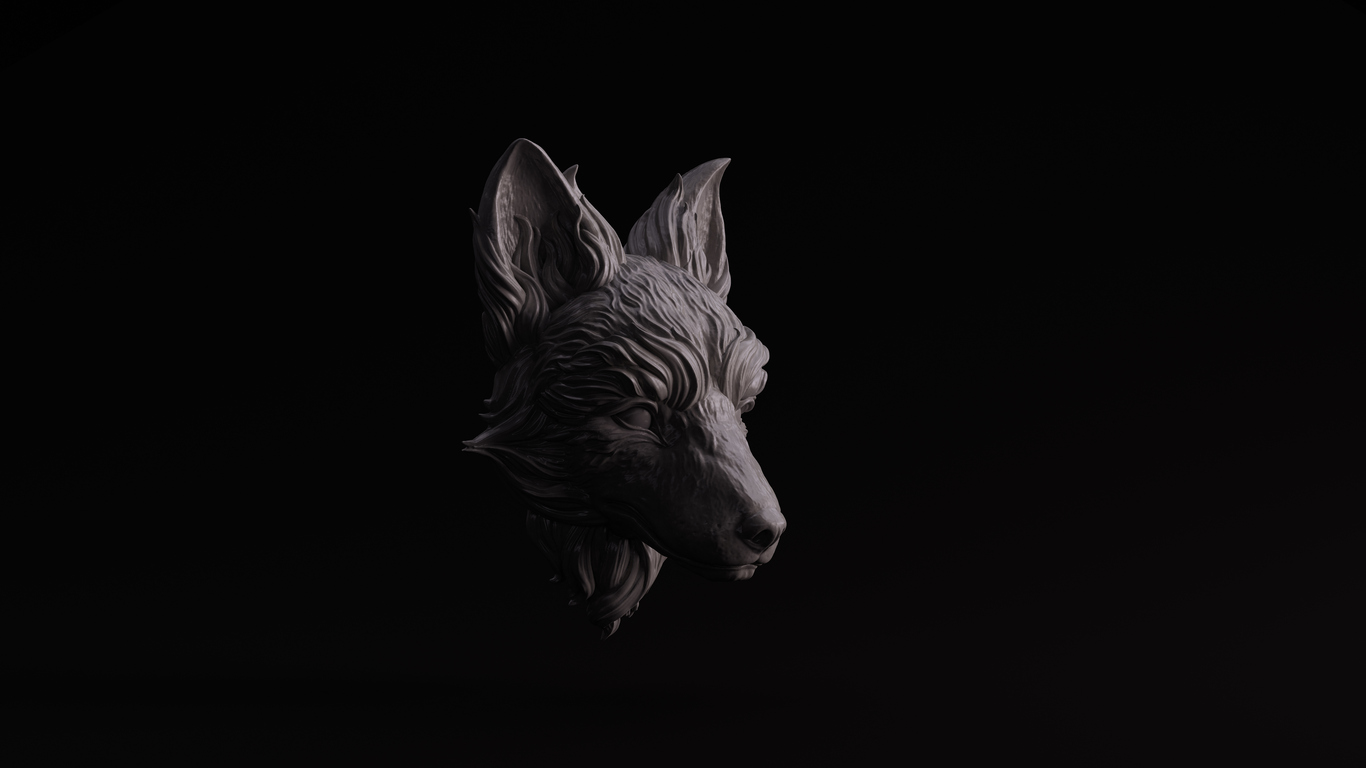
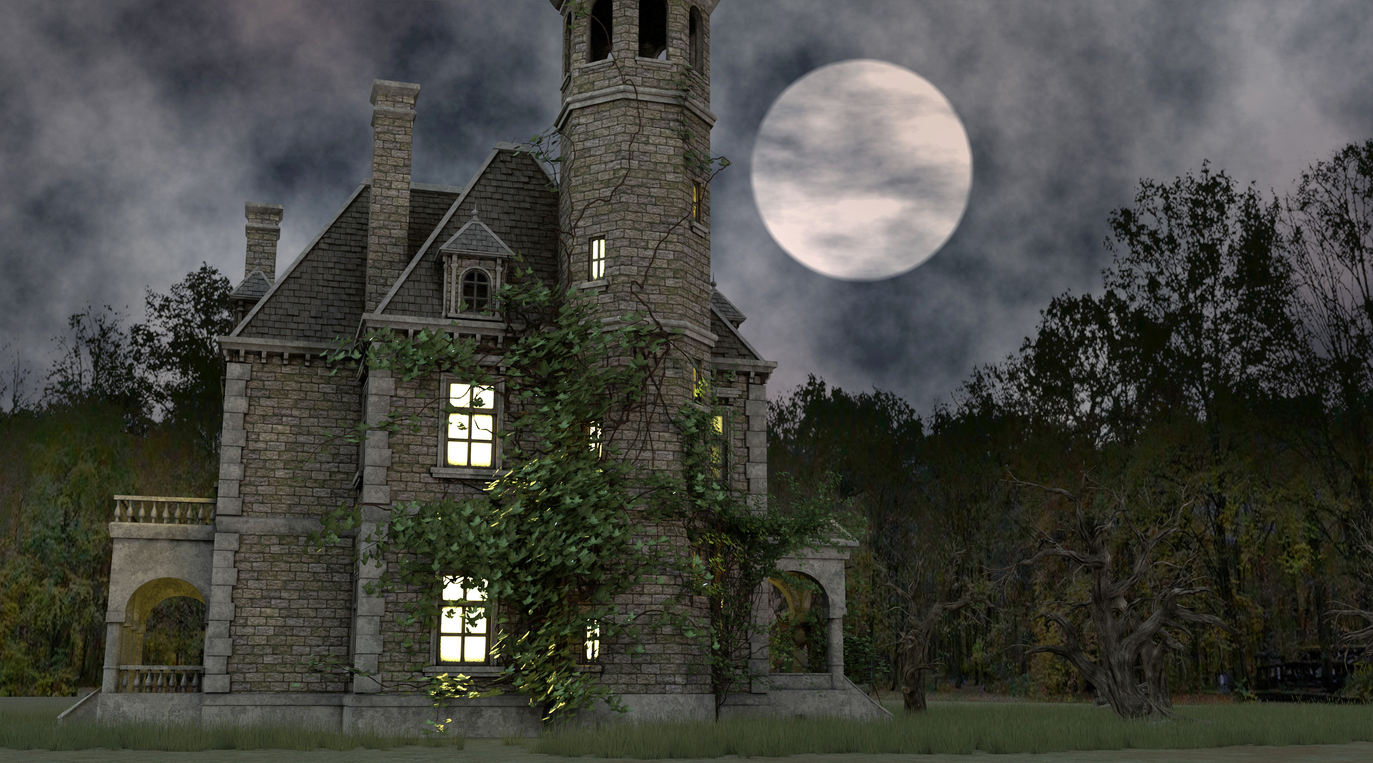
If you are thinking of being professional, the 3D Modeling Animation Art and Design Diploma at Visual College of Art & Design (VCAD), mastering camera animation brings your 3D modelling, character design and environment work into motion and into the spotlight.
Why Animate the Camera?
When you animate a camera you control what the viewer sees, when they see it and how the scene moves around them. In Unreal Engine camera animation allows you to create fly-throughs, cut-scenes, cinematic trailers or gameplay driven camera paths. For a student in VCAD’s diploma program camera animation is the link between your modelling or animation work and the polished presentation that makes it shine.
Key Tools and Concepts in Unreal Engine
Let’s break down the main tools you’ll use when you animate a camera in Unreal Engine.
- Sequencer: Unreal’s multi-track timeline editor used to animate cameras, objects, and properties over time. You create a Level Sequence asset, add tracks (for camera transform, lens settings, etc.), and place keyframes.
- Cine Camera Actor: A specialized camera type that mimics real film gear, complete with filmback, lens, and focus controls. It offers professional visual results for 3D work.
- Keyframes and Interpolation: Animate your camera by setting keyframes at different times, and use easing (ease-in, ease-out) so motion feels smooth and natural rather than mechanical.
- Camera Rail / Spline Paths: For sweeping, cinematic moves you can attach your camera to a rail or spline path. This automates complex movement rather than manually keying each position.
- Runtime Animation & Blueprints: When your camera movement is part of gameplay (not just pre-rendered cinematics), you use Blueprints or C++ and assets like CameraAnim to control camera behaviour at run time.
How to Animate Camera in Unreal Engine: Step-by-Step Workflow
Step1. Set up your scene
Open or create a level in Unreal Engine. Ensure you have an environment or models to move around.
Step2. Insert a Cine Camera Actor
In the Place Actors panel (under Cinematic) drag in a “Cine Camera Actor”. Position it in your scene at the start point of your desired shot. Optionally adjust its film-back, lens and aperture to achieve a more cinematic look.
Step3. Create or open a Level Sequence
Via the Cinematics menu select Add Level Sequence. Name it and open the Sequencer panel. Add your camera actor: click “+” then Add Actor then choose your camera.
Step4. Set keyframes
In the Sequencer panel:
1. Move the playhead to time zero.
2. With the camera selected set its transform (position/rotation) then add a keyframe (press Enter or right-click then Add Key).
3. Move the playhead to a later time (say 3 seconds). Move or rotate the camera to a new position and framing. Add another keyframe.
4. Repeat for as many key points as you need: perhaps 5-10 keyframes for a simple movement path.
Step5. Preview and refine
Click Play in the Sequencer or scrub through the timeline. Observe the camera movement: does it feel smooth? Adjust keyframes’ timing or interpolation slopes for ease-in and ease-out. Fix any jumps or abrupt changes.
Step6. Advanced move (optional): Use a spline or rail path
If you want a smooth sweeping camera move (like a fly-through of your environment) place a camera rail or spline actor. Attach the camera to follow that path and animate it along the rail. This is especially effective when you want to showcase your modelling work with motion.
Step7. Add lens and post-process effects (optional)
To heighten the cinematic feel animate the field of view (zoom in/out), depth of field focus distance, motion blur or other Post Process Volume settings. This adds polish and presents your modelled scene with impact.
Step8. Export or integrate
If your goal is a rendered video (a portfolio piece from your diploma work) you can use Unreal’s Movie Render Queue. If the camera move is part of gameplay then tie your Level Sequence to a Blueprint or trigger so it plays at the right moment in your game.
Best Practices & Tips
- Use a manageable number of keyframes. Too few and the camera movement feels jerky. Too many and it becomes hard to refine.
- Smooth interpolation matters. Let the camera ease in and out of movements so it feels organic.
- Always preview from the viewer’s eye. You are crafting the experience and directing attention.
- In scenes with motion or characters keep camera motion supportive not distracting. Your build from modelling and animation should be enhanced by camera movement not overshadowed by it.
- Use framing thoughtfully. Think like a cinematographer. Your coursework at VCAD will reinforce compositional and design principles so apply them here.
- Avoid the camera colliding with geometry or moving through objects unless you intend that effect.
- If the camera is part of gameplay make sure you do not disorient your player. Sharp rolls or fast curves may look dramatic but can cause discomfort.
- Keep performance in mind. Real-time camera animation is great but effects such as heavy post-process or too many cameras active at once can hurt frame-rate.
How This Fits Into the VCAD Diploma Program
VCAD 3D Modeling Animation Art and Design Diploma offers hands-on training in industry-standard tools and workflows and aims to build career-ready portfolios. By learning how to animate a camera in Unreal Engine you can:
- Elevate your modelling and animation work so it demonstrates motion and storytelling not just static visuals.
- Create portfolio pieces that reflect production-ready workflows: an asset plus camera move plus post-process polish.
- Prepare for careers in 3D Character Animation, Special Effects Studios, architectural visualization Industrial Design Firms, and more. Many employers expect not just modelling skills but the ability to present work dynamically.
- Leverage the creative and technical training from the VCAD program: design foundations, modelling software, animation techniques all converge when you animate a camera to show your work.
In short this skill aligns with the goals of the program and helps you stand out in your portfolio skill-set and career readiness.
Final Thoughts
Animating a camera in Unreal Engine unlocks the next level for your 3D work. Whether you’re showcasing an environment you modelled, creating a cinematic trailer of a character you designed or building an interactive sequence in a game, camera animation gives your scene motion, purpose and polish.
At the core of the 3D Modeling Animation Art and Design Diploma at VCAD you learn to build assets and craft visuals. When you add camera animation to that skill-set, your creations will not just look good, they’ll move, tell stories and stand out.
Start simple: place a Cine Camera Actor, key a few frames, preview and refine. Then explore splines, lens effects and interactive triggers. Your camera isn’t just another tool, it’s how you lead your audience through your world.