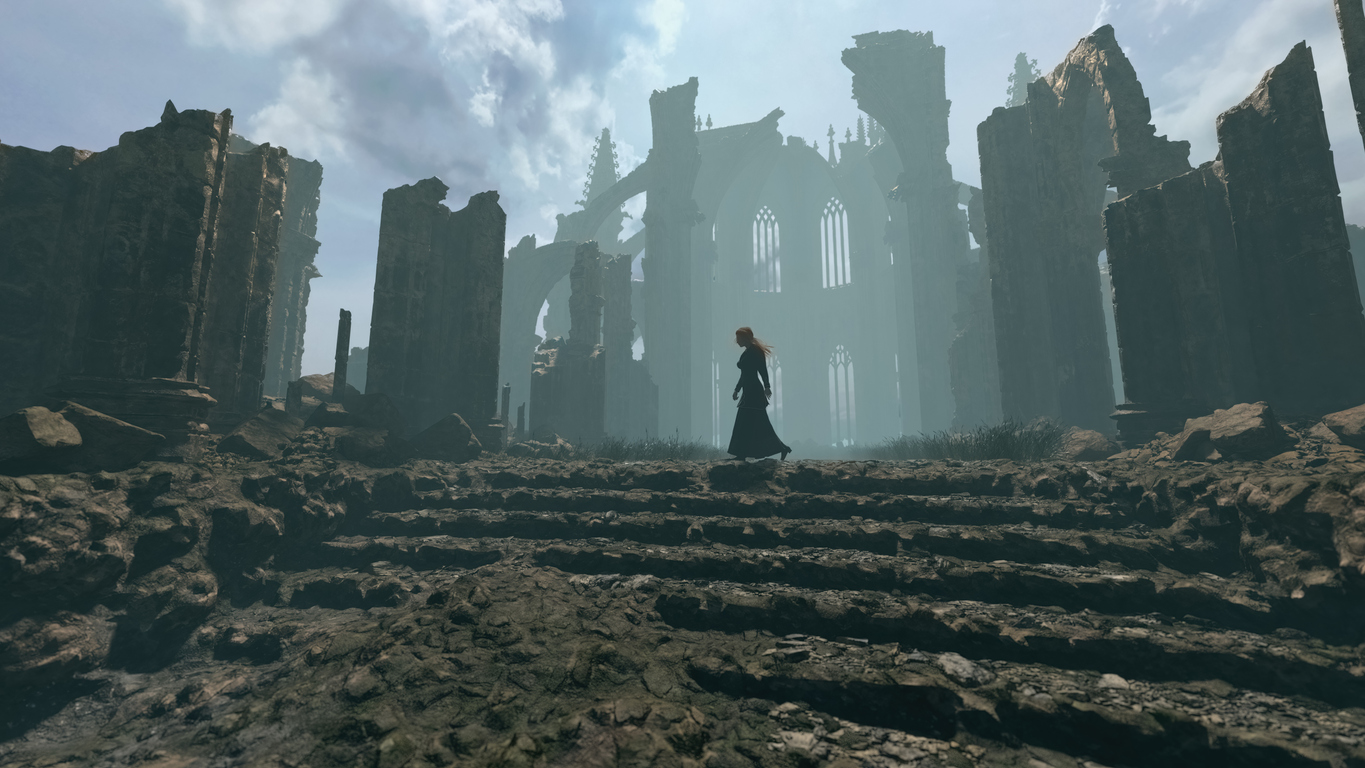
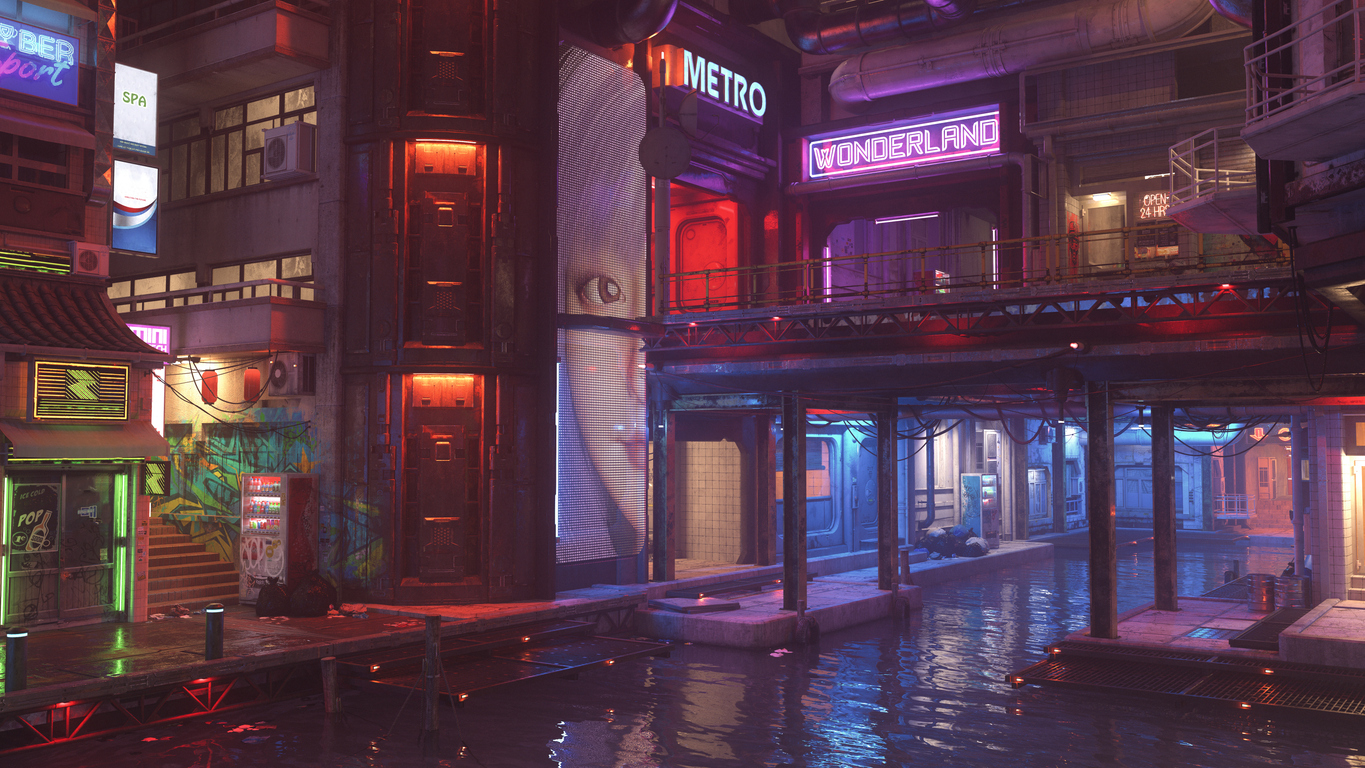
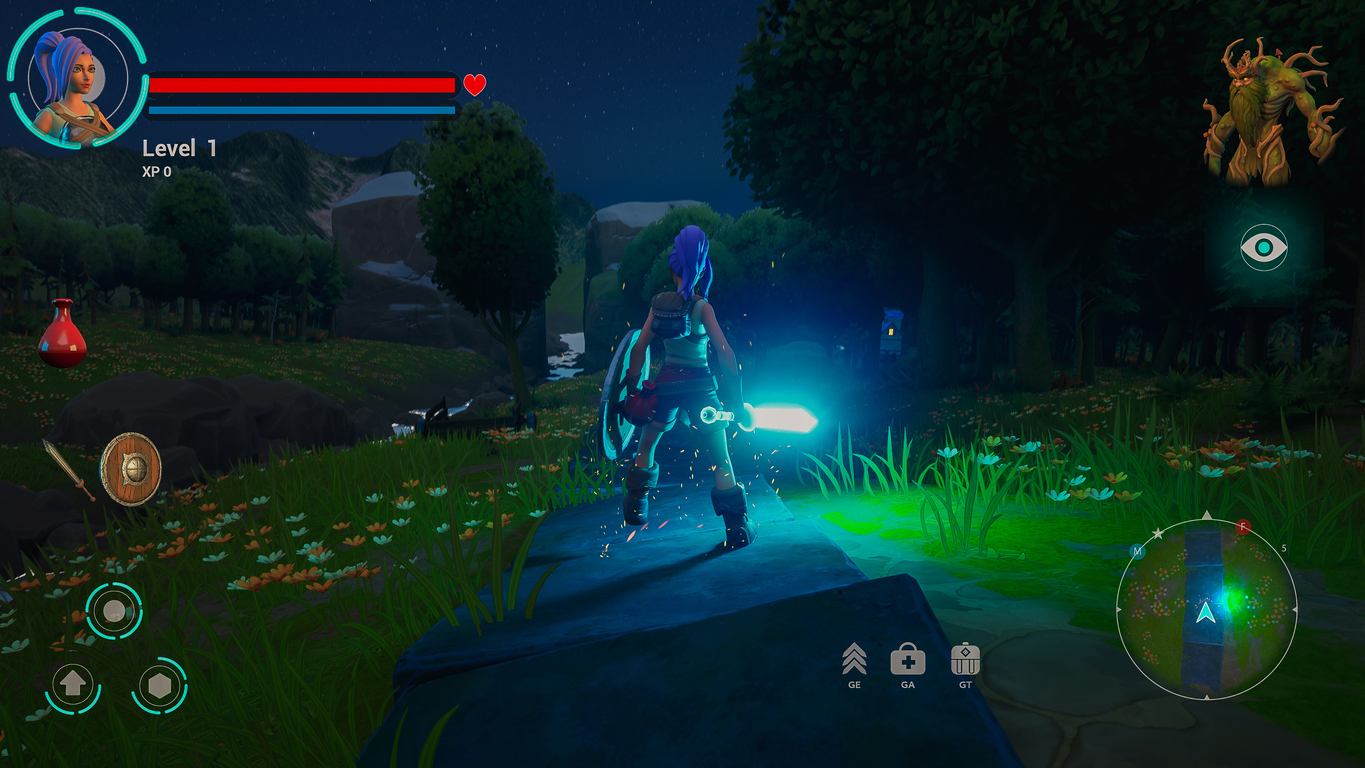
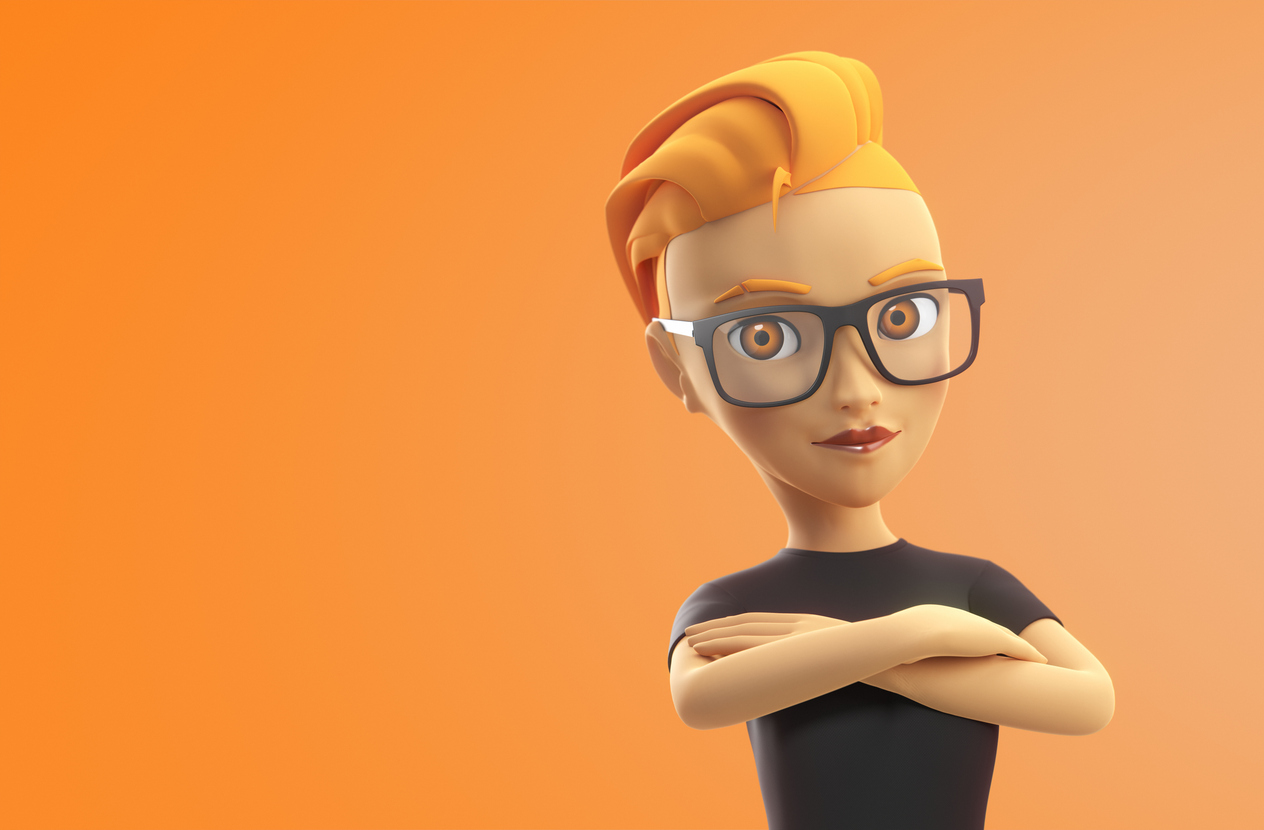
If you love games and imagine yourself creating your own worlds, one of the most exciting moments is adding texture to 3D models. A simple mesh suddenly becomes a piece of metal, a weathered rock, or a piece of cloth. Texture brings surfaces to life, adding depth, realism, and style.
In this guide you will learn how to take a raw 3D model and turn it into a game-ready asset, and how a program like VCAD Game Development and Design Diploma can help you master the whole pipeline.
Why Texture Matters in Game Art
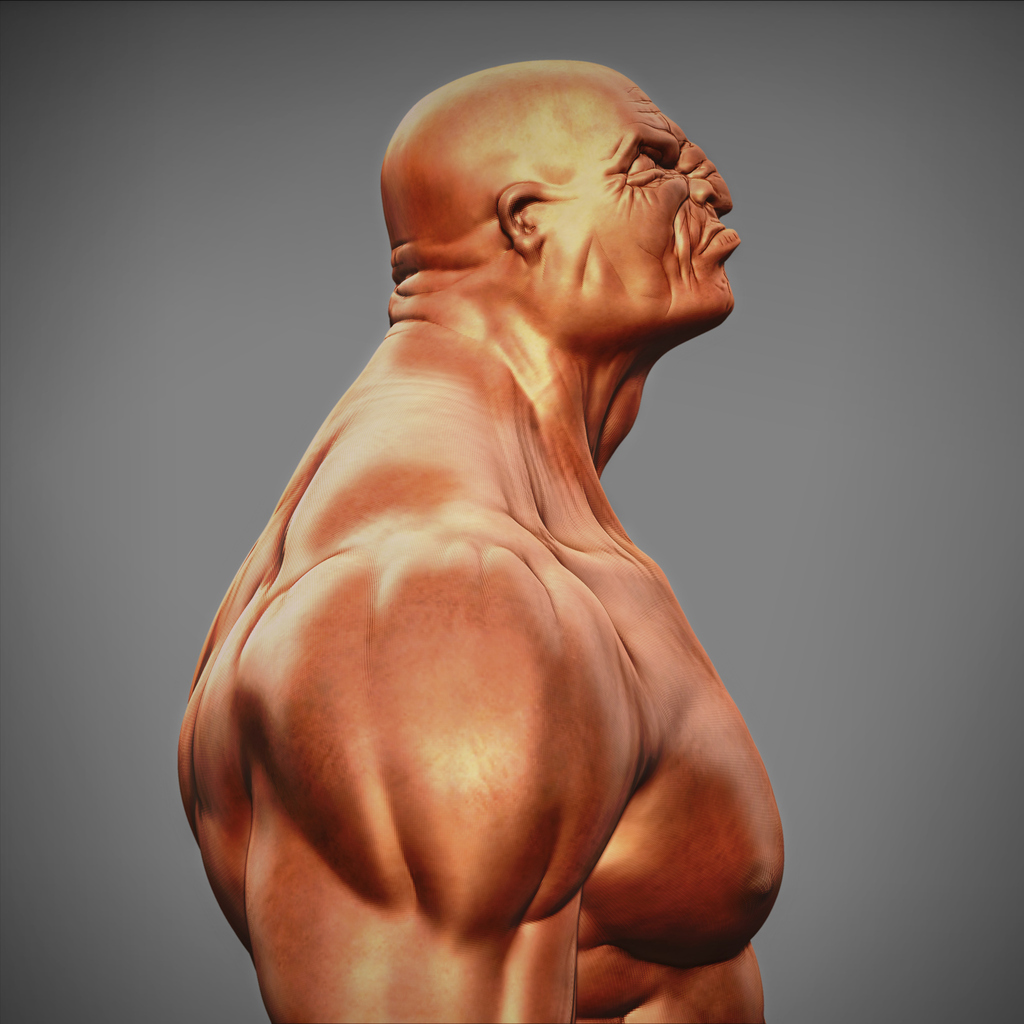
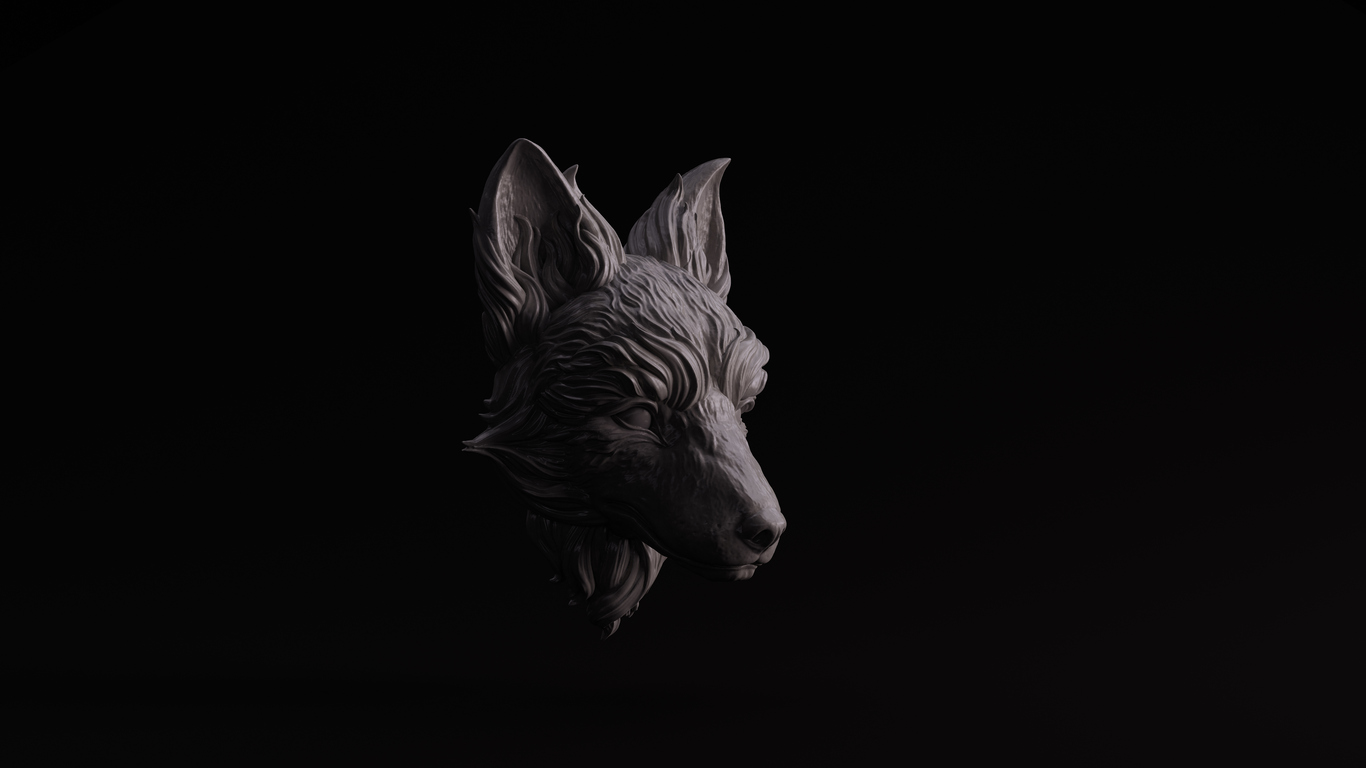
At its core, a 3D model is just geometry, a collection of vertices, edges, and faces. Without texture, everything looks flat and grey. Textures overlay images onto that geometry to define colour, surface roughness, shine, bumps, and more. With the right textures, even a modest model can look realistic or stylistic, depending on your artistic vision.
Good texturing helps:
- Make materials, wood, metal, stone, fabric, look believable.
- Add small details like scratches, wear, seams, or grain that give life to the object.
- Save performance by faking detail with textures rather than heavy geometry.
Modern games often use PBR (Physically Based Rendering) workflows. In PBR, multiple texture maps (like base colour, normal, roughness, metallic) combine so that surfaces respond properly to light, making them appear realistic under different lighting conditions. That means metal glints, stone looks rough, cloth feels soft.
How to Add Texture to 3D Models for Video Games?
Step1. The Foundations: 3D Tools and UV Mapping
Before you texture, you need to prepare the model properly. Many tools today help with this, and a good education program teaches you how to use them.
Pick a 3D tool
A popular choice is Autodesk Maya, or free tools like Blender. In a well-structured curriculum like the one at VCAD, you are introduced to these tools early on, starting with basic interface navigation, 3D modelling, UV unwrapping, texturing, lighting, and rendering.
These tools let you model characters, props, and environment assets, then unwrap their surfaces into 2D layouts ready for texture application.
Understand UV mapping
UV mapping is the step where you “unwrap” a 3D surface into a flat 2D representation (the UV map). This map tells the software how to wrap 2D textures around the 3D shape. Think of it like carefully peeling and flattening the skin of an orange. Without correct UVs, textures stretch, distort, or overlap, which breaks immersion.
Good UVs are the foundation of clean, distortion-free textures. Most 3D tools include a UV editor. As a beginner, you’ll practice unwrapping simple shapes to master the process before moving to complex characters or props.
Step2. Texture Creation: Painting & Preparing Maps
Once UVs are set up, it is time to create textures. You’ll often produce multiple maps depending on the style and realism your game demands.
What are the main texture maps?
- Base Colour (Albedo / Diffuse): The flat colour map for your model, without shading or light information. This is the “paint job.”
- Normal Map: This simulates surface bumps and grooves, like wood grain or stone cracks, without adding geometry. Lighting will react to these bumps, making surfaces appear detailed and realistic.
- Roughness / Metallic / Specular Maps (in PBR workflow): These control how shiny or matte a surface is, and whether it is metal or non-metal. A metal sword should shine; a old wooden crate should look rough and worn. Proper PBR textures make materials behave realistically under light.
You might also create additional maps like ambient occlusion, bump, or displacement, depending on your needs and the engine you target.
Tools for texturing
Beginners often start with:
- Blender or Maya, for UV unwrapping, basic texture painting, and exporting.
- Dedicated texturing tools, for example, 3D-Coat is a popular tool that supports UV mapping, texture painting, and PBR texture creation, all in one package.
- Other similar tools or image-editing software if you prefer painting on 2D UV layouts.
Depending on the game style, you can paint by hand, use photo textures, or mix methods.
Step3. Bringing it All Together: Material Setup & Game-Ready Export
After you have your texture maps, the next step is to set up materials in a game engine, then export your model properly.
Material setup
In the engine or 3D software, you assign each texture map to the correct channel of a material (for example, base colour to “albedo,” normal map to “normal,” roughness to “roughness,” etc.). This tells the engine how to render light interacting with the surface. A well-set material will reflect light realistically: rough surfaces scatter light diffusely; metallic surfaces reflect sharply; surface details like dents or scratches show via the normal map.
This is where your model stops being “just geometry” and becomes a game-ready asset with character and realism.
Exporting and optimization
Real-time games care about performance. So:
- Use efficient UV layouts.
- Keep texture resolution reasonable (for many assets 1024×1024 or 2048×2048 works; higher for main characters or hero assets).
- Name and organize your texture files clearly (e.g. Character_Body_Albedo.png, Weapon_Blade_Normal.png, etc.).
- Build with a clear folder structure so everything is easy to manage when importing into the engine.
Quick Workflow Recap for Beginners
- Model and Clean Your Mesh
- Start with a clean, well-structured 3D model. Make sure geometry is tidy and ready for texturing.
- UV Unwrap the Model
- Flatten the 3D surface into a 2D UV map so textures can wrap correctly — this ensures textures don’t stretch or distort.
- Create or Paint Texture Maps
- Produce key maps like base colour (albedo), normal (surface detail), roughness/metallic (surface properties), and any additional maps your game needs.
- Assign Textures to a Material/Shading Setup
- In your 3D software or game engine, link each map to the correct material channel (colour, normals, roughness, etc.) so lighting and material behaviour work realistically.
- Test Under Lighting & Fine-Tune
- Check how your textured model looks under different lights. Fix seams, adjust texture scale or material settings if needed. Make sure the surface reads clearly, whether close up or from a distance.
- Export & Optimize for the Game Engine
- Export textures and model with proper naming, reasonable resolution, and clean folder structure. This ensures your asset is game-ready and efficient.
Why Learning This in a Program Like VCAD Matters
Choosing a structured program such as VCAD gives you more than just individual skills, it gives you a complete toolkit for game-ready production.
- Complete skill set: The VCAD Game Development and Design Diploma covers everything: modelling, UV mapping, texturing, lighting, animation, and design fundamentals.
- Real-world workflow training: You learn through hands-on projects that follow a game-development pipeline from concept to final export.
- Portfolio-ready output: Graduates leave with polished, game-ready 3D assets and a strong portfolio under guidance by professional instructors to showcase skills to the employers.
- Balance of art and technical know-how: The program blends creative design (colour theory, composition, life drawing) with technical skills (texturing, optimisation, engine-ready export)
If you want to build and release game-ready assets with confidence, VCAD Game Development and Design Diploma gives you a complete, practical foundation for success.
Final Thoughts
Texturing is what turns simple 3D shapes into believable game assets, wood, metal, cloth, stone, bringing realism and style to your models. If you are serious about creating game-ready assets, a structured program like the Game Development and Design Diploma at VCAD can guide you from modeling and UV mapping to texturing, material setup, and final export. With some practice and the right tools, you can bring your game worlds to life with detailed, immersive models.