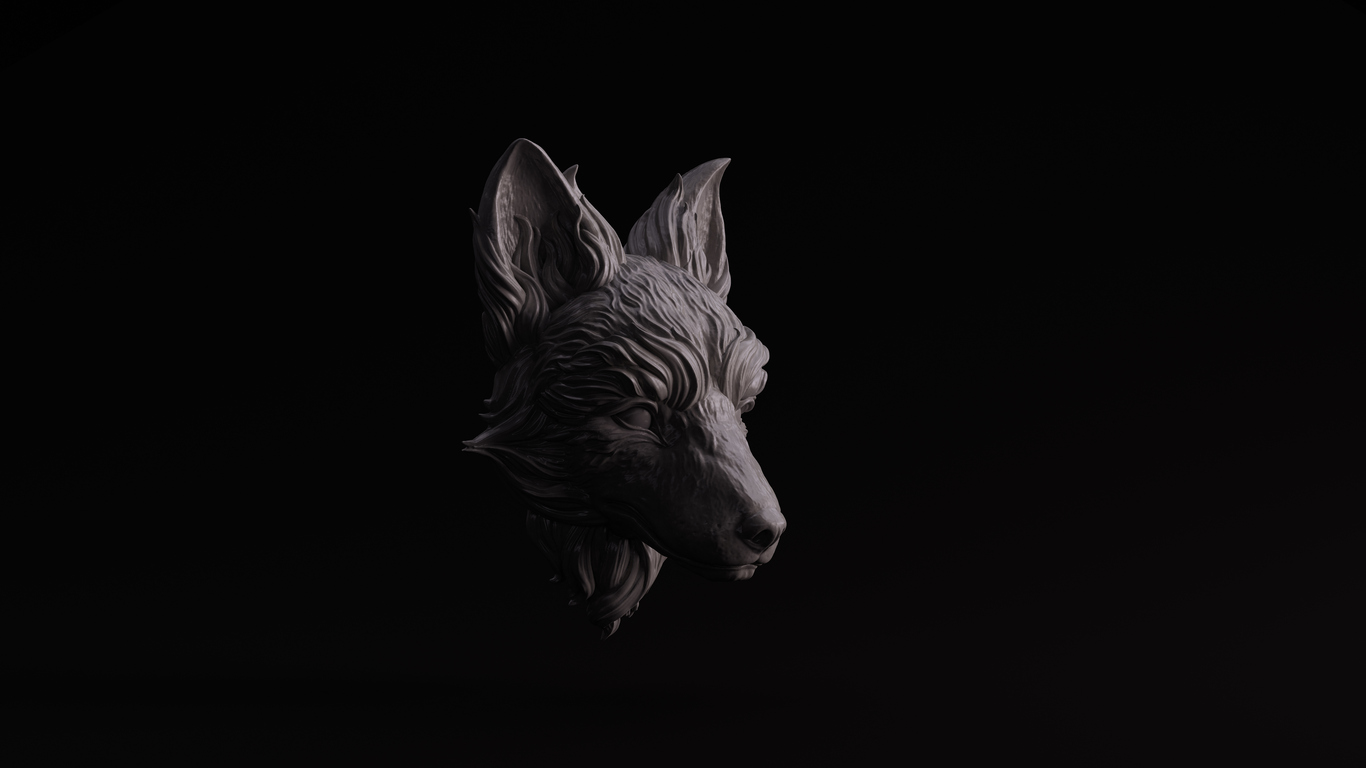
Imagine sculpting a fantastical creature for a video game, shaping every scale and horn as if you're working with digital clay. Modern game artists rely on powerful tools like ZBrush to bring these creations to life. ZBrush is a favourite in the industry for its advanced sculpting features, enabling artists to create highly detailed characters and environments. Much of this magic comes from ZBrush's brushes: digital tools that mimic real sculpting instruments, letting creators carve, pinch, smooth, and add textures at will.
The true power of ZBrush lies in its flexibility. You aren't limited to the brushes that come pre-installed. Just as a traditional artist might seek out a new brush or chisel for a special effect, ZBrush artists can add custom brushes to their toolkit. If you want to sculpt realistic dragon scales or intricate fabric wrinkles, there's likely a custom brush for the job. Adding these brushes not only expands your creative options but also speeds up your workflow.
In this blog, we'll demystify how to add brushes to ZBrush so you can enhance your sculpting repertoire. And if you're passionate about leveling up your digital sculpting for a future career in game art, remember that formal training, such as VCAD Game Development and Design Diploma Program, can equip you with industry-ready skills and knowledge.
Why Add Custom Brushes in ZBrush?
ZBrush comes with a wide array of brushes (Standard, Clay Buildup, Pinch, Move, and more) that cover many needs. But every artist develops their own style and sometimes needs specialised tools for finer details. Adding custom brushes allows you to tap into endless creative possibilities. For example, if you're sculpting rocky terrain or a scaly creature, you might download a brush that stamps a realistic rock texture in one stroke. If you're detailing a character's skin, a dedicated pore or wrinkle brush can instantly give a lifelike effect.
The ZBrush community is rich with user-created brushes. Talented artists often share or sell brushes they've crafted (from hair curve brushes to mechanical detail packs). Importing these into your project saves time because you don't have to sculpt complex patterns from scratch. In game development, working efficiently while keeping quality high is key, and custom brushes fit into that philosophy by accelerating repetitive or intricate sculpting tasks.
Understanding ZBrush Brush Files (.ZBP)
Before diving into the how-to, let's clarify what ZBrush brush files are. ZBrush brushes use the .ZBP file extension (short for ZBrush Brush Preset). Whether it's an IMM brush (Insert Multi Mesh) or a standard sculpting brush, they all import as .ZBP files. So when you download custom brushes (usually in a ZIP archive), you'll extract one or more .ZBP files. Make sure the brush is compatible with your ZBrush version. If it behaves oddly or won't load, it might require a newer version of ZBrush than you're using.
Now, with your brush files ready, let's look at the different ways to add them into ZBrush.
How to Import Brushes into ZBrush?
Method 1: Load Through ZBrush Interface
The most straightforward way to add a brush is via ZBrush’s own UI.
Using the Brush Menu: Click the Brush menu at the top of ZBrush, then choose Load Brush. In the file dialog that appears, select your .ZBP brush file and hit Open. The brush will load into ZBrush and appear in your brush list.
Using the Brush Palette: Alternatively, open the Brush palette from the left sidebar (click the brush icon). At the bottom of that palette, click Load Brush and choose your .ZBP file. This achieves the same result – the new brush is added to your current session.
Once loaded, the custom brush is ready to use immediately on your model. (Quick tip: If ZBrush is already running, you can also double-click a .ZBP file from your desktop or file explorer to load it instantly.
Method 2: Install for Permanent Use (Startup)
If you want certain brushes available every time you open ZBrush, add them to your startup brushes folder.
Copy the .ZBP files into ZBrush’s ZStartup\BrushPresets directory (for example, ...\\Pixologic\\ZBrush 2023\\ZStartup\\BrushPresets). Then restart ZBrush. Those brushes will now load by default at startup, appearing with the standard brushes.
Use this for your most essential brushes. Avoid overloading this folder. Having too many can slow down ZBrush or cause some brushes not to show upzbrushcentral.com. Pixologic suggests keeping under 25 brushes in ZStartupzbrushcentral.com. For a large collection, use LightBox instead (see below).
Method 3: Use LightBox for Many Brushes
For a big library of brushes, ZBrush’s LightBox is ideal. LightBox is an in-program asset browser that shows content from specific folders on your drive without loading everything at startup.
To use it, put your custom brush files into the ZBrushes folder in the ZBrush installation directory (you can organise them into subfolders there). In ZBrush, open LightBox (click the LightBox button or press the , comma key) and go to the Brush section. You'll see the folders you created, and inside them your brush icons. Double-click any custom brush in LightBox to load it on the fly into your session.
This way, you can keep hundreds of brushes organised and only pull them in when needed. LightBox shows preview icons and respects your folder structure, making it easy to find what you need. It’s the recommended method for managing lots of brushes without slowing down ZBrushzbrushcentral.com.
Where to Find Brushes
The ZBrush community offers countless custom brushes:
- Forums: The official ZBrushCentral forum has free user-posted brushes. It's a great place to find niche tools or get recommendations.
- Marketplaces: Sites like ArtStation, Gumroad, and Cubebrush host brush packs (some free, some paid).
- Tutorials: Many tutorial creators or instructors include custom brushes with their lessons.
Stick to reputable sources to avoid corrupted files. After downloading a pack, unzip it to get the .ZBP files and check for any notes on usage.
Final Thoughts
Digital sculpting is an art, and having the right tools in your palette makes a huge difference. Knowing how to add brushes to ZBrush opens up new creative possibilities. Whether you're crafting the scaly hide of a dragon or the ornate engravings on a sword, expanding your brush library helps you achieve the look you envision while saving time. Many eye-catching game models owe some of their detail to a well-chosen custom brush.
As you refine your craft, keep experimenting with new brushes and techniques. Each tool can spark ideas and improve your workflow. And if you're serious about turning your passion for 3D sculpting and game art into a career, consider formal training to complement your practice. Programs like VCAD’s Game Development and Design Diploma help aspiring artists master industry-standard tools (ZBrush included) and build portfolios that stand out in the gaming world. For an aspiring game artist, every new trick or feature you master in ZBrush is a step toward more professional, polished results. Pairing a solid education with your own practice will set you on the path to creating the next iconic game characters or immersive worlds.