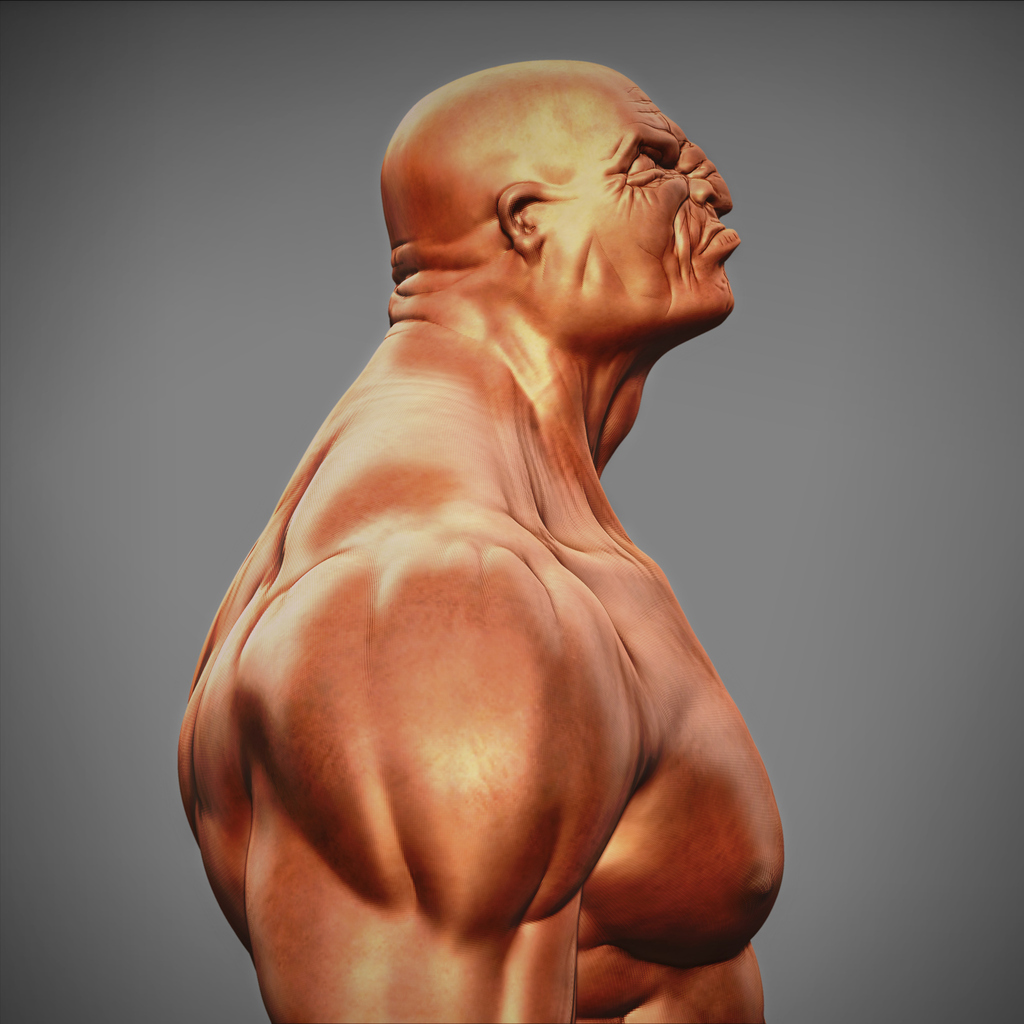
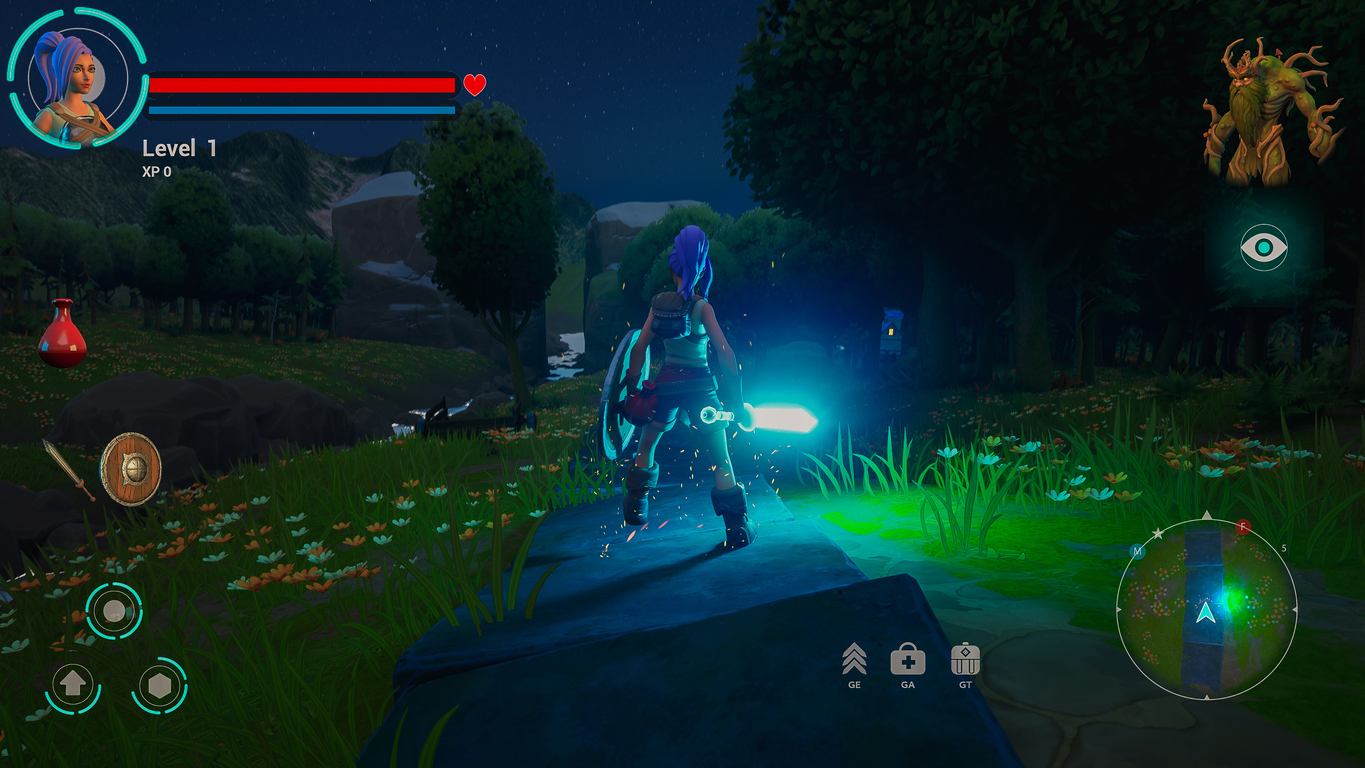
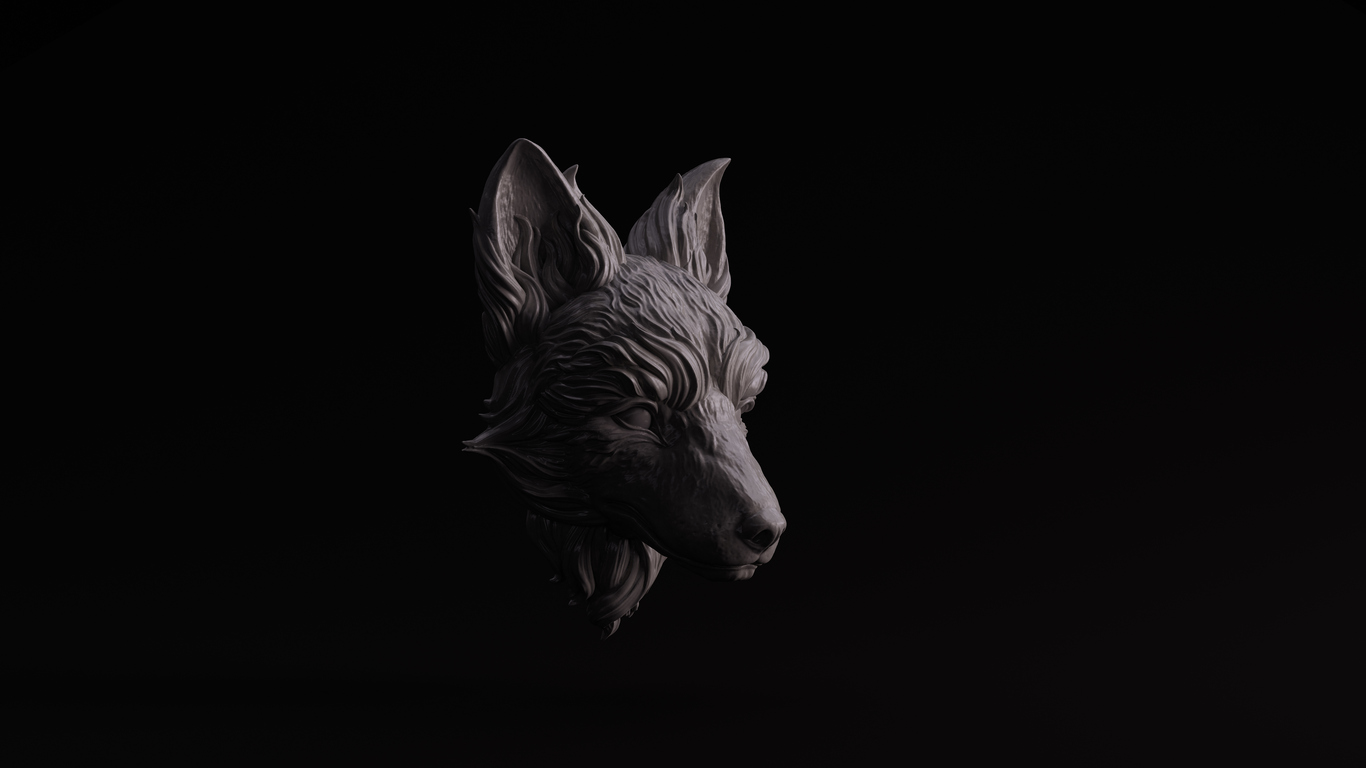
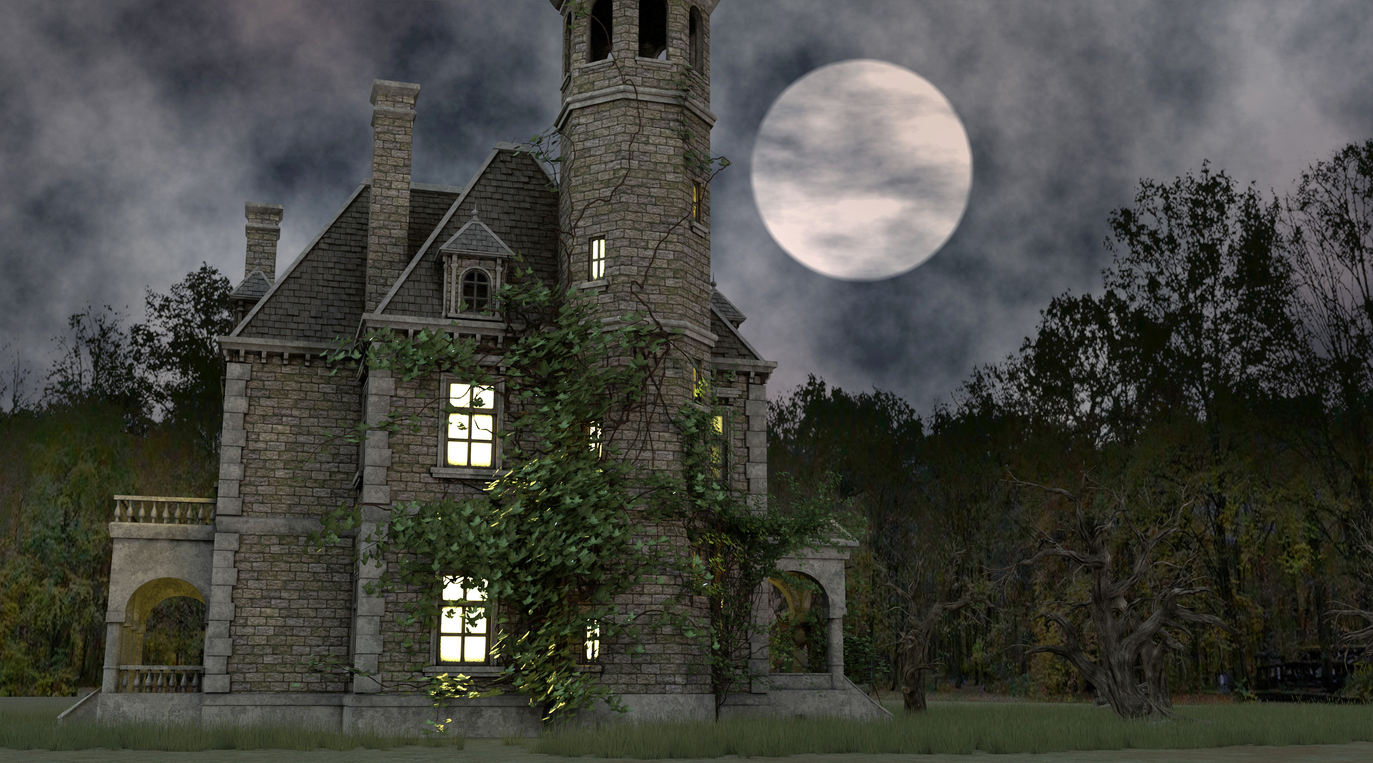
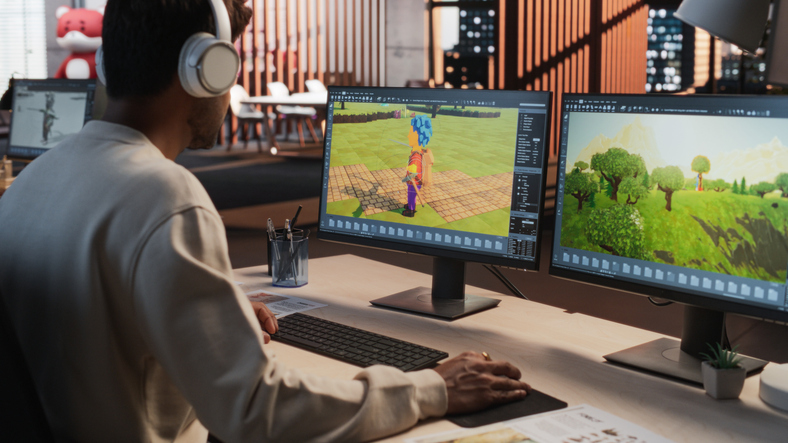
Ever wondered how the stunning worlds of animated films and video games are built? Often, the answer is Autodesk Maya. This industry-standard software is the digital sculptor’s toolkit, and while its interface can seem daunting, anyone can start creating with the right guidance. This walkthrough will introduce you to Maya’s core workflow, from installation to your first textured model, and explore how structured education can accelerate your journey from hobbyist to professional.
How to 3D Model in Maya for Beginners?
First Steps: Installing and Setting Up
To begin, ensure your system meets Maya’s requirements: a modern 64-bit CPU, at least 8GB of RAM (16GB recommended), and a DirectX 11 compatible graphics card with 4GB VRAM. Download a trial version from Autodesk’s website, install it, and upon launching, create a new project via File → Project Window to keep all your assets organized.
Navigating the Interface
Maya’s workspace is highly customizable, but these core areas are essential:
- Viewport: Your central window into the 3D scene. Navigate by holding Alt: left-click to rotate, right-click to zoom, and middle-click to pan.
- Shelves & Menu Bar: Context-sensitive menus at the top, with customizable shelves below for quick tool access.
- Outliner: A hierarchical list of every object in your scene, crucial for organization.
- Channel Box/Attribute Editor: The command center on the right for editing an object’s position, rotation, scale, and material properties.
- Timeline: Used for animation; you can ignore it for static modelling.
Memorize these basic hotkeys to speed up your workflow: W (Move), E (Rotate), R (Scale), F (Frame Selection), and the Spacebar to toggle panel views.
Core Concepts: Geometry and Transformation
Every 3D model is a mesh built from vertices (points), edges (lines), and faces (surfaces). Beginners should focus on polygon modelling, which uses quads and triangles to create versatile models for games and film.
Once you create a primitive object (like a cube or sphere), use the transformation tools to manipulate it:
- Move (W): Reposition using the colored axis handles.
- Rotate (E): Spin the object using its pivot point.
- Scale (R): Resize uniformly or along a single axis.
You can reposition an object’s pivot by pressing D. Use snapping shortcuts (X for grid, V for vertices) for precise alignment.
Your First Model: A Simple Chair
Let’s apply these concepts with a practical exercise—modelling a chair through primitive-up modelling.
1. Seat: Create a polygon cube (Create → Polygon Primitives) and scale it flat.
2. Legs: Select the four bottom faces, then Extrude them downward (Shift + Right-Click → Extrude). Use the Move tool to shape the legs.
3. Backrest: Select the rear-facing face and extrude it upward.
4. Refinement: Use the Bevel tool to soften sharp edges and the Insert Edge Loop tool to add supporting geometry for a cleaner shape.
Essential Modelling Tools
As you progress, these tools will become fundamental:
- Extrude: Pulls new geometry from faces, edges, or vertices.
- Bevel: Rounds off hard edges for realism.
- Bridge: Connects two separate edges or faces with new geometry.
- Multi-Cut: A versatile tool for slicing and adding edge loops.
- Target Weld: Merges vertices to simplify your mesh.
The Importance of Clean Topology
A good model isn’t just about shape; it’s about clean topology. Aim for evenly spaced quad faces, as they deform predictably during animation. Maintain flowing edge loops around areas that might bend (like a character’s joints). Start simple with low-poly geometry and add detail only where needed. You can preview a smoothed version at any time by pressing *3*.
Adding Life: Texturing and Shading
A grey model is just a starting point. To give your chair a wooden or metallic appearance, you need materials and textures.
1. UV Unwrapping: This is the process of “flattening” your 3D mesh into a 2D layout in the UV Editor so that 2D textures wrap around it correctly.
2. Applying Materials: In the Hypershade window, create and assign a shader. For realistic results, use the Arnold renderer’s AiStandardSurface shader, which lets you control properties like base color, roughness, and metallic sheen.
3. Texture Maps: Apply image files as maps to add detail—a color map for the base material, a roughness map to control shininess, and a normal map to simulate surface detail without adding geometry.
The Final Touch: Lighting and Rendering
Lighting defines mood and depth. Maya provides several light types:
- Directional: Simulates sunlight.
- Area: Creates soft, diffused lighting, like from a window.
- Spotlight: A focused beam for highlights.
- Skydome: Provides overall environmental illumination in Arnold.
For a simple setup, combine a Directional light for overall scene brightness with an Area light to soften shadows.
Finally, render your image using Maya’s built-in Arnold renderer. Access Render Settings, set Arnold as the render engine, and start with a low-quality test render. Once satisfied, increase the sampling for a clean final image and render it out.
Structured Learning at VCAD for Career Growth
While tutorials and solo practice are valuable, a formal education path can fast-track your skills and connect you directly to industry needs. For those serious about a career, structured programs like the 3D Modelling Animation Art and Design Diploma at VCAD offer a comprehensive roadmap.
The Program:
This intensive 72-week online diploma is designed to take you from foundational principles to a professional portfolio. The curriculum is built around industry-standard software and hands-on projects that mirror real-world pipelines.
Key Features & Benefits:
- Industry-Focused Toolkit: Gain proficiency not just in Maya, but across the vital software suite used in studios today, including ZBrush for sculpting, Substance Painter for texturing, Unreal Engine for real-time rendering, and Houdini for visual effects.
- Project-Based Learning: Move beyond theory by applying skills to tangible projects, ensuring you graduate with a compelling and diverse portfolio.
- Flexible Learning: Benefit from 24/7 access to course materials and an asynchronous schedule.
Career-Oriented Outcomes:
The program is designed to prepare you for specific roles such as:
- 3D Modeler / Texture Artist
- Character Artist
- Animator
- Lighting / Rendering Specialist
For aspiring artists, this kind of guided education provides more than software knowledge, it builds the critical artistic judgment, technical problem-solving skills, and professional discipline needed to thrive in competitive fields.
Final Thoughts
3D modelling in Maya is a rewarding blend of technical skill and artistic vision. Start by mastering the interface and basic tools with simple objects. Gradually incorporate texturing and lighting to bring your creations to life. After dedicated personal practice, if you want to pursue a career, the structured program 3D Modelling Animation Art and Design Diploma at VCAD can help you to step further beyond digital worlds.